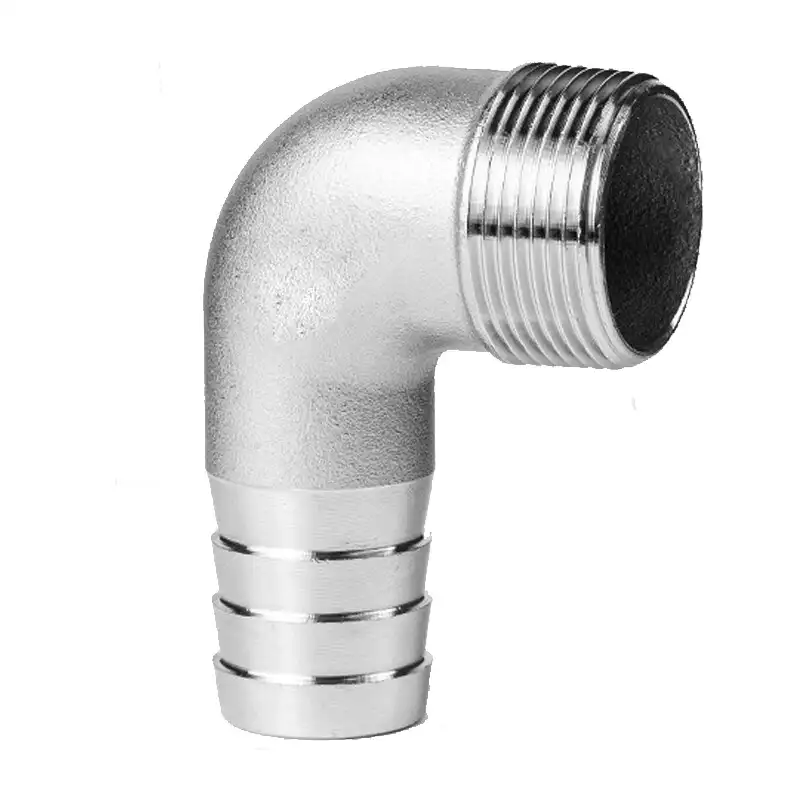
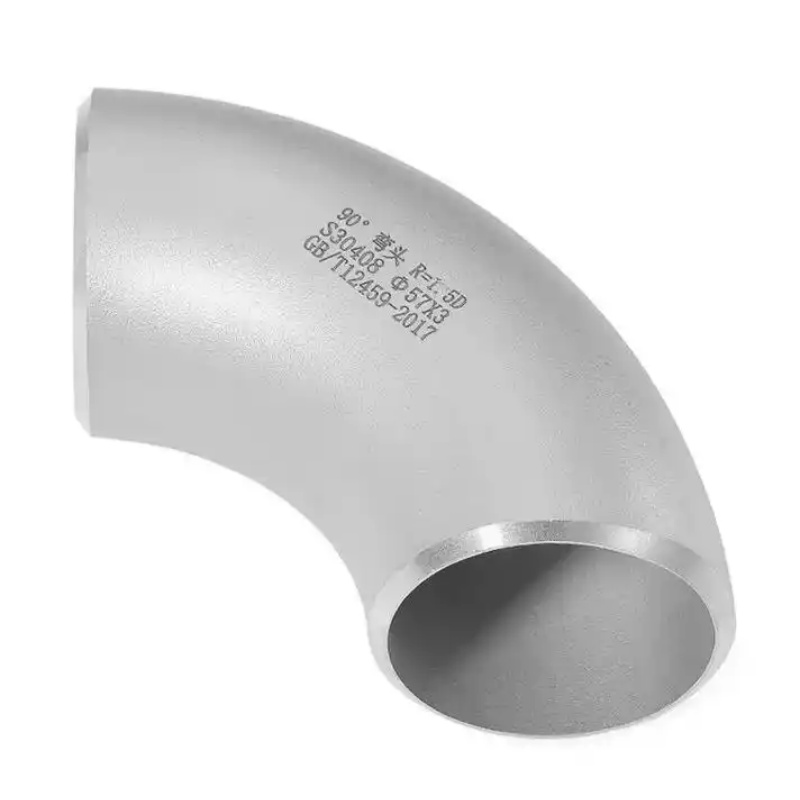
How to Safely Disassemble Threaded Connections from Galvanized Elbow Fittings?
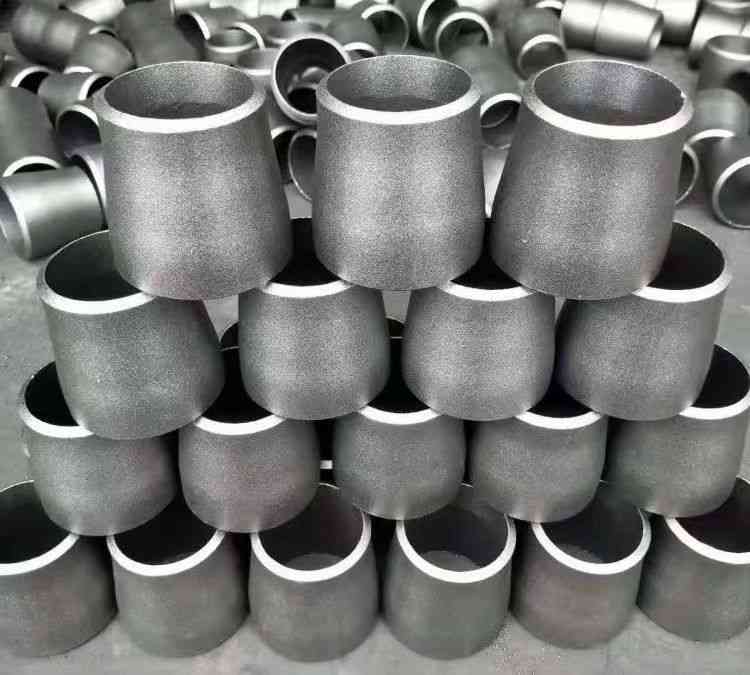
✅In pipeline maintenance or retrofit projects, removing threaded connections from galvanized elbow joints is a common task but one that is fraught with pitfalls. Although the galvanized coating provides excellent corrosion protection, prolonged exposure to moisture or temperature fluctuations often leads to the formation of white zinc salts (white rust) or red rust on the threads, resulting in thread galling or seizure. Forcing the joint apart can easily damage the threads, cause the elbow to crack, or thin the pipe wall, potentially ruining the entire piping system.
Step 1: Accurately Identify Thread Specifications and Failure Status
✅The vast majority of galvanized elbows use NPT threads, with a taper of 1°47′ (3/4 inch per foot). Before disassembly, use a thread gauge to confirm the pitch (e.g., 11.5 threads per inch for 1/2″ NPT). If you find that only 2–3 full threads are exposed on the outside and the rest are filled with corrosion products, this indicates severe rusting. At this point, do not directly apply a pipe wrench—you must first perform a “penetration and vibration‑loosening” pretreatment.
Step 2: Apply Professional Penetrant and Heat Degreasing
✅Spray a high‑penetration loosening agent containing PTFE or graphite (such as WD‑40 Specialist Penetrant) evenly along the internal and external thread gaps of the elbow, and allow it to sit for at least 15 minutes (1 hour for severe rust). For stubborn seizures, use an induction heater to locally heat the outer wall of the elbow to 150°C–200°C (being careful not to exceed the decomposition temperature of the galvanized layer, approximately 230°C). The thermal expansion differential creates micron‑scale clearance between the parent material (elbow) and the male thread (pipe). Immediately after heating, use a stiff brush to remove molten grease and debris, then re‑spray with penetrant—this is the core step of the galvanized pipe thread extraction technique, effectively reducing initial torque by over 70%.
Step 3: Correct Clamping and Force Application
✅Use a chain‑type pipe wrench or a heavy‑duty hex wrench (rather than an ordinary pipe wrench), because a chain wrench applies force uniformly around the elbow wall, avoiding point‑loading that could crush it. Simultaneously, use a second pipe wrench to counter‑hold the adjacent straight pipe to prevent torsional force from transferring to other joints. When applying force, use a “push‑pull” pulsed motion, with each turn not exceeding 15°, and after every 1/4 turn, reverse‑turn 1/8 turn to break up accumulated debris between the threads.
✅Remember the reference normal removal torque: for a 1/2″ NPT galvanized joint, the maximum safe torque is approximately 60–80 N·m; if the gauge reads over 100 N·m with no movement, stop immediately and switch to the thread destruction method (use a miniature grinder to cut a shallow groove along the thread axis to release stress).
Step 4: Dealing with Completely Seized Extreme Cases
☑️When the above methods fail, prepare a homemade release agent (mix acetone and automatic transmission fluid in a 1:1 volume ratio). This mixture has better penetrating ability than most commercial products. Brush it on and wait 30 minutes, then use an impact wrench (set to low gear, impact force not exceeding 200 ft·lb) with a dedicated socket for high‑frequency impacting.
☑️If it still cannot be unscrewed, the last resort is to cut off the elbow entirely, but preserve the male threads on the pipe, then use a thread chaser to repair damaged thread profiles—this is an advanced remedial technique for stuck elbow fitting disassembly, typically employed only in high‑pressure steam or fire‑protection systems.
Step 5: Thread Maintenance After Disassembly
☑️After successful separation, be sure to thoroughly remove residual galvanized chips and rust powder from the old threads with a wire brush, then use a thread gauge to check whether the pitch diameter is within acceptable tolerance (for example, the permissible deviation for 1/2″ NPT pitch diameter is ±0.004 inch). Before reassembly, evenly apply an anti‑seize compound—copper‑based or nickel‑based products are recommended, with temperature resistance up to 260°C–540°C.
☑️This final step directly affects the ease of future disassembly and represents the best practice for rusted thread release agent selection—proper choice can reduce secondary removal torque by more than 50%.