How to Remove Elbow Pipe – Professional Removal Guide
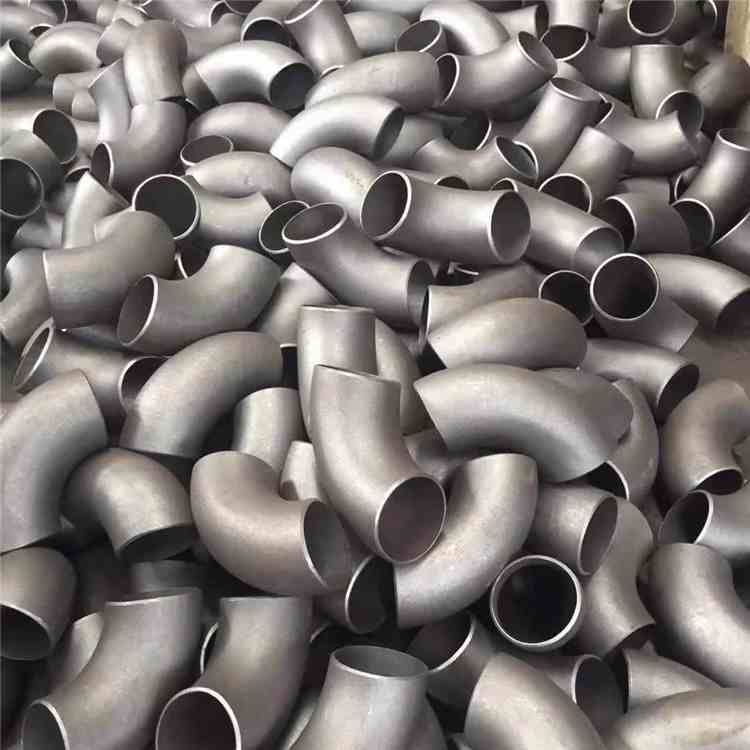
In a piping system, an elbow pipe plays a vital role in changing the flow direction of media. Whether for routine maintenance or system modification, mastering the correct removal method can effectively prevent pipeline damage.
Combined with industry standards and practical experience, this article elaborates on how to safely remove various types of elbows, and covers special requirements in precision manufacturing and electronics industries.
Step 1: Identify the Elbow Type
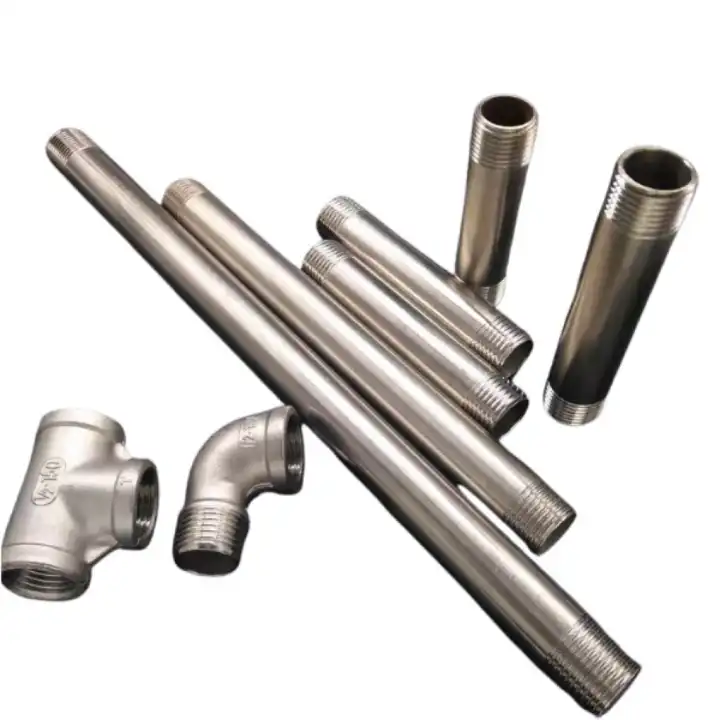
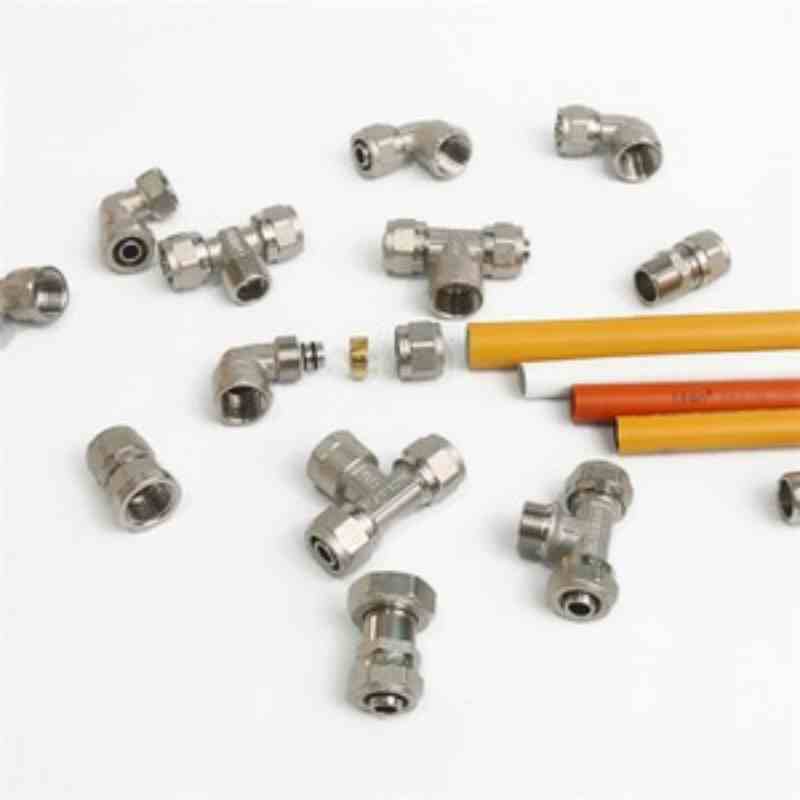
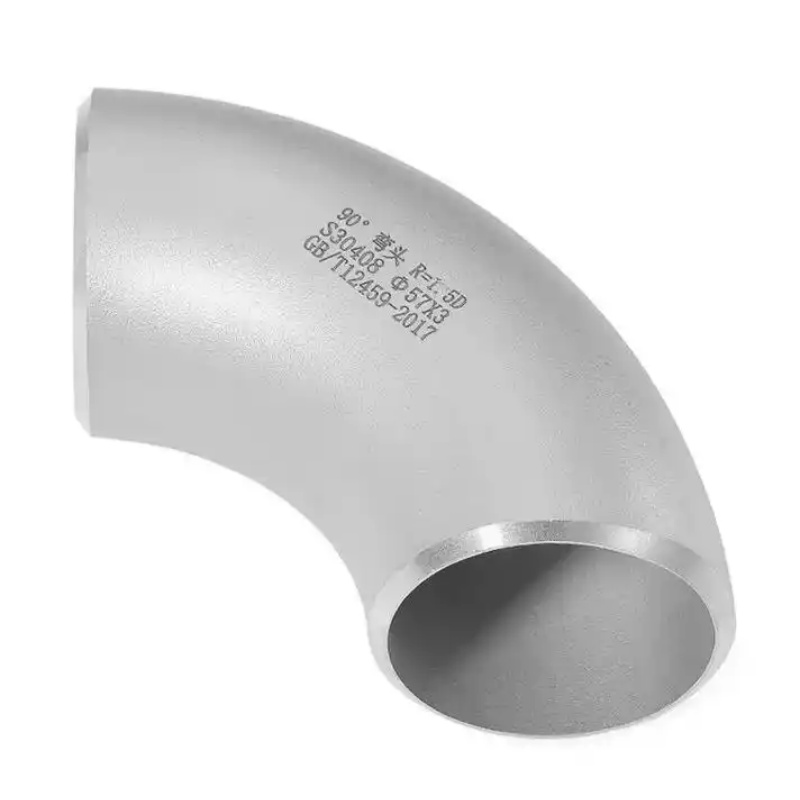
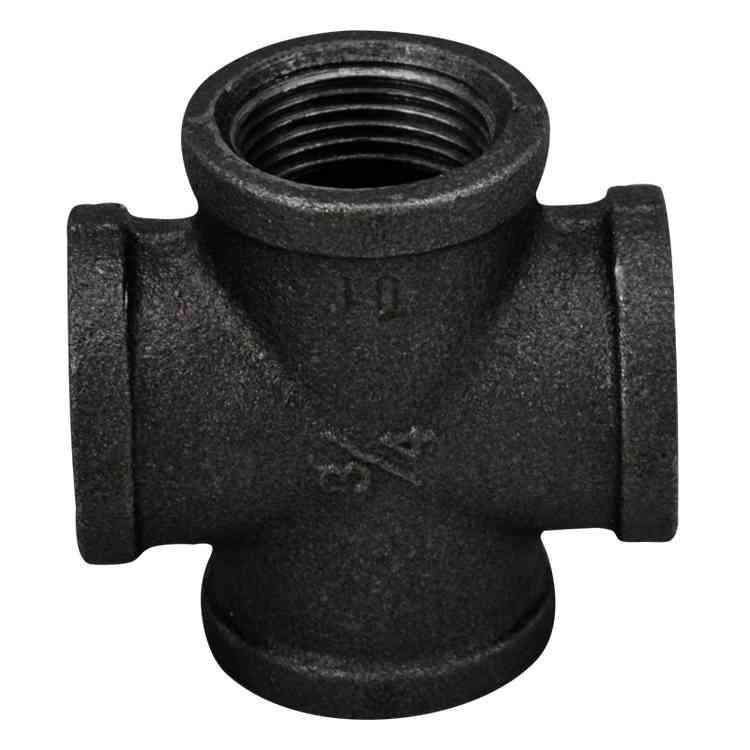
Common types include pipe connector elbow (used to connect two straight pipes), threaded elbow pipe with thread, and pipe street elbow with male thread on one end and female thread on the other. For copper piping systems, situations requiring copper pipe elbow leak repair are also common. Confirm the connection type (welded, threaded or press-fit) first, then select the corresponding tools.
Step 2: Shut Down the System and Drain Residual Media
Before maintaining any elbow, close the upstream valve and drain residual water, gas or chemical media inside the pipeline. For example, residual pressure can reach 0.3~0.6MPa in domestic water pipes of 1/2 inch ~ 2 inch. Failure to relieve pressure may cause personal injury during removal. For high-temperature or corrosive media, perform cooling and neutralization treatment in advance.
Step 3: Remove According to Connection Type
- Threaded Elbow: Use two pipe wrenches to fix the adjacent pipeline, then rotate the pipe with elbow body in the reverse direction. Note that the torque shall not exceed 40N·m (for 3/4 inch NPT thread) to avoid thread damage or stress cracks.
- Welded Copper Pipe: Evenly heat the welding joint to approximately 400°C with a heat gun or propane torch, then gently twist and remove the pipe after the solder melts. This procedure is commonly applied in how to fix a leaking pipe elbow — remove the leaking elbow first, clean the oxide layer, then re-weld or replace it.
- Press-fit / Quick Coupling: Use a dedicated release tool to press the release ring, and pull out the elbow outward simultaneously.
Step 4: Inspect and Troubleshoot Leakage
If leakage is the original problem, inspect the sealing surface and threads for deformation, and check whether the O-ring is aging after removal. The recommended operating temperature range is -20°C~120°C with Shore hardness 70A. For copper pipe elbow leak repair, lead-free solder (96.5% tin and 3.5% silver content) is recommended. Conduct a pressure test at 1.5 times the working pressure after welding.
Special Considerations for Precision Manufacturing & Electronics Industry
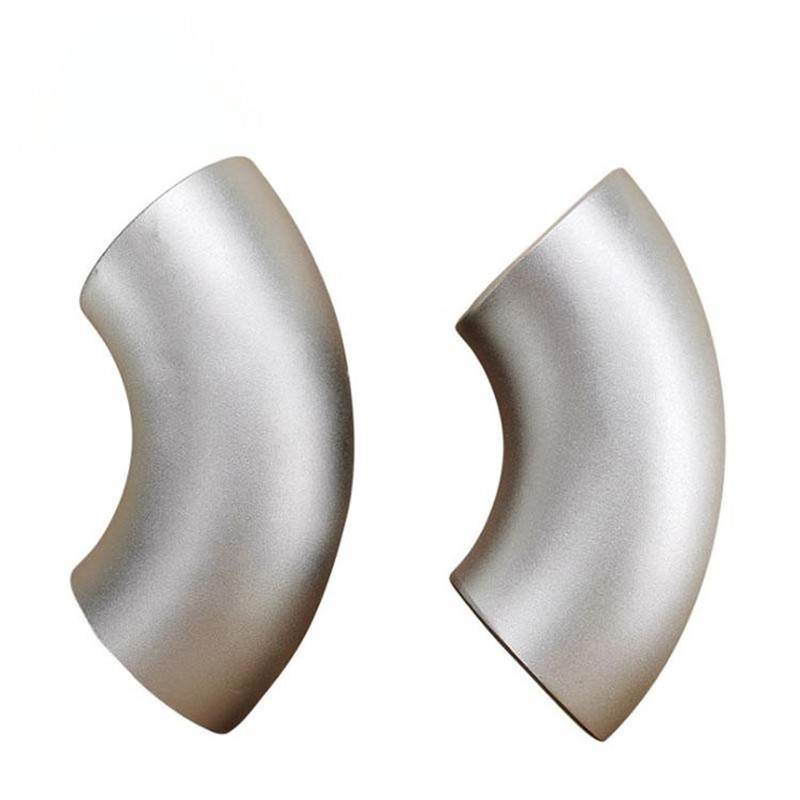
In semiconductor cleaning equipment, high-purity gas pipelines and precision instruments, the removal of pipe connector elbow must be carried out in an ISO Class 5 clean environment with particle-free and dust-free gloves. Any metal debris or welding slag may contaminate wafers or sensors.
Elbows supplied by AIFN Pipe Fittings feature a surface roughness Ra≤0.4μm and undergo ultrasonic degreasing, ensuring no micro-pollution occurs during removal and replacement.
Summary
Removing an elbow pipe is not a simple forced rotation operation, but a systematic procedure based on material properties, connection standards and working conditions. Whether it is a standard pipe street elbow or threaded elbow pipe with thread, following the above steps and referring to industry specifications such as ASME B16.11 or ASTM B88 enables safe and efficient completion of the removal work.