How to Fix a Broken Elbow Pipe
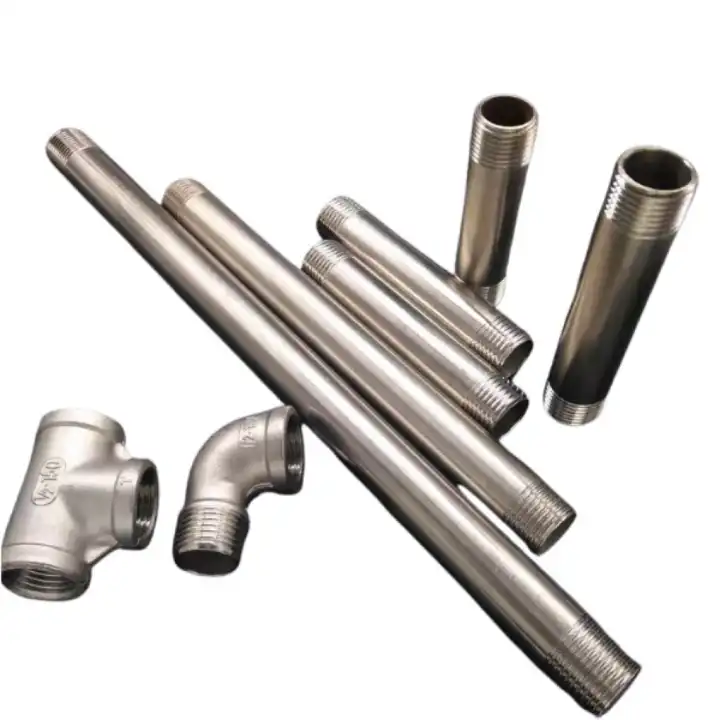
Elbow pipe fittings play a vital role in changing the flow direction of media in piping systems. Once damaged, they will not only cause leakage but also reduce the overall efficiency of the conveying process.
From a professional maintenance perspective, combined with common dimensional parameters and environmental protection & water treatment scenarios, this article provides you with a reliable repair solution.
Step 1: Identify Damage Type and Assess the Site
Before starting repair work, it is necessary to determine the loss of structural integrity of the damaged part. Common damage forms include cracks, perforations, socket joint fractures, and thread corrosion.
For metal elbow plumbing pipes (such as galvanized steel, copper or stainless steel), cracks usually appear at weld seams or bending stress concentration areas; while plastic (PVC, CPVC, PP) elbows are mostly cracked due to low-temperature embrittlement or ultraviolet aging.
In actual maintenance, it is recommended to close the upstream valve first and drain the residual liquid inside the pipeline. Use a hygrometer or visual inspection to ensure the leakage point is fully exposed. If you are engaged in the Environmental Protection & Water Treatment industry (such as sludge conveying lines or reclaimed water reuse pipe networks in sewage treatment plants), note that the medium may be corrosive or contain solid particles. In this case, wear protective gloves and goggles, and collect leaked substances in accordance with local environmental regulations.
Step 2: Take Accurate Measurements and Select Replacement Parts
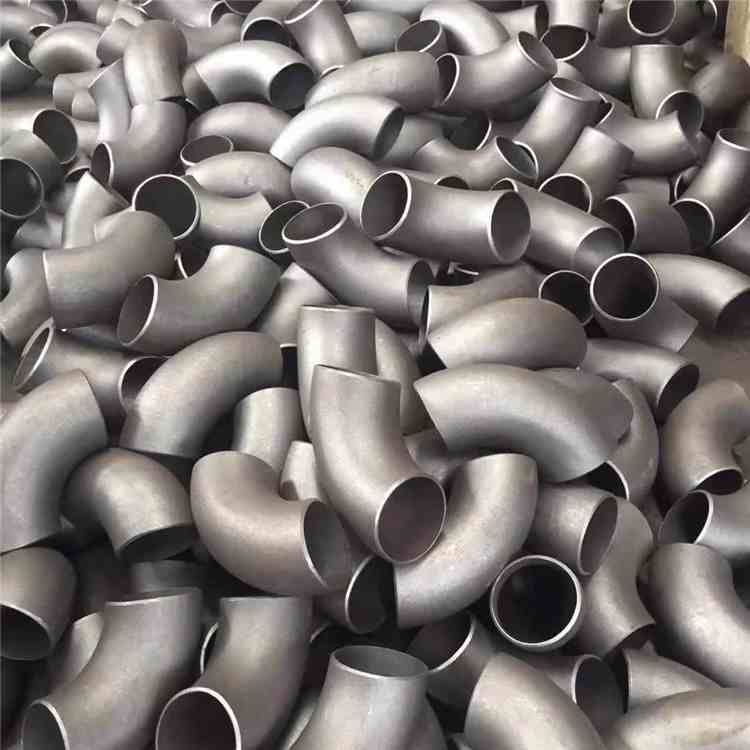
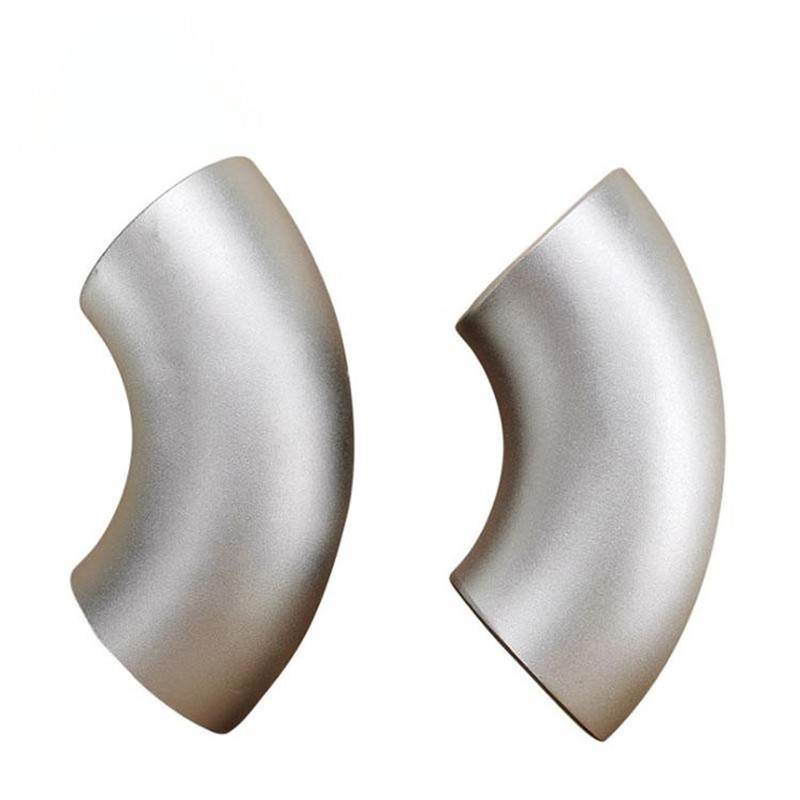
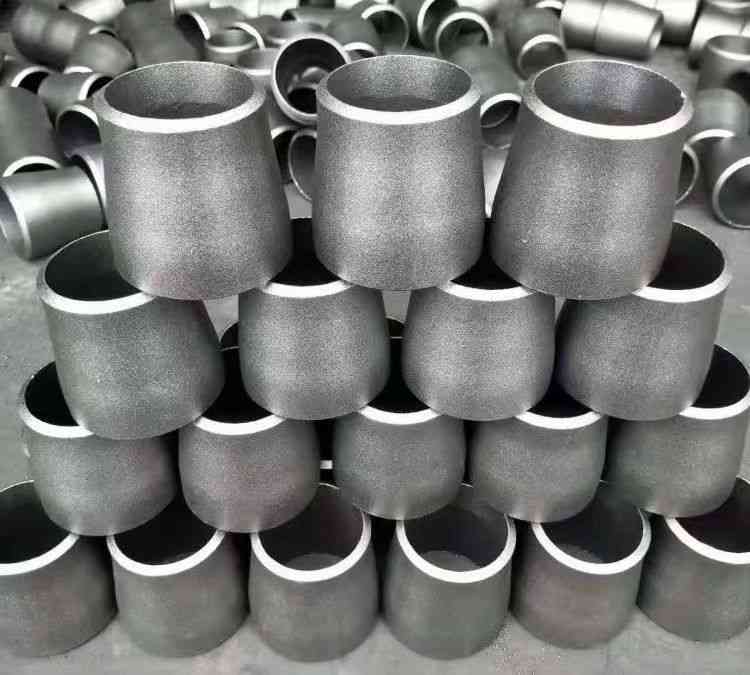
The core of repair is to select an elbow that matches the original system. You need to use a vernier caliper or pipe gauge to obtain three key data: nominal diameter (DN or NPS), wall thickness (Schedule rating), and bending angle. Taking the common 45° elbow as an example, typical data quoted from the ASME B16.9 standard are as follows:
For NPS 2 inch (DN50) 45° pipe elbow dimensions: the Center-to-Face distance is 35 mm, the wall thickness of Sch.40 is 3.91 mm, and Sch.80 is 5.16 mm.
For the same type of NPS 4 inch (DN100): the Center-to-Face distance is 76 mm, and the Sch.40 wall thickness is 6.02 mm.
Note: The outer diameter tolerance of the same elbow of pipe from different manufacturers may be slightly different (usually controlled within ±1.6 mm). Therefore, it is best to cut off the damaged elbow completely and take it to the accessory store for physical comparison. In addition, the “length” of an elbow does not refer to the straight-line distance but the “nominal length” — this is particularly important when replacing elbows in narrow pipe shafts to prevent the new fitting from failing to install.
Step 3: Safely Remove the Old Elbow and Prepare Pipe Joints
Use a fine-tooth hacksaw for metal pipes or a pipe cutter for plastic pipes to cut the straight pipe section at least 5 cm away from the damaged area. Ensure a flat cut: the allowable inclination angle shall not exceed 2° (that is, the vertical deviation per 100 mm length is less than 3.5 mm). Afterwards, remove burrs on the inner and outer walls with a deburring tool or fine file.
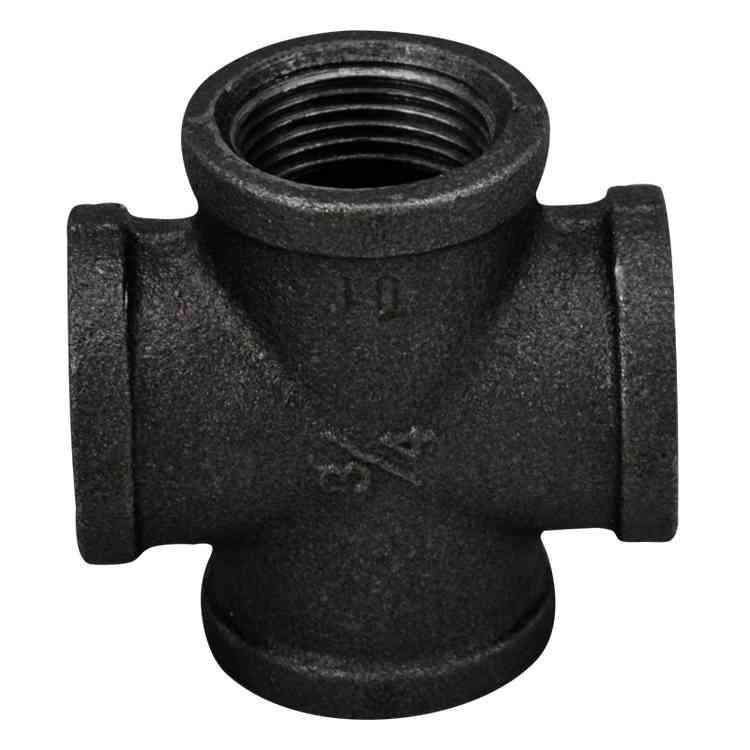
For threaded connection elbows, re-threading is required if the original threads are damaged. Common standards include NPT (National Pipe Taper) and BSPT (British Standard Pipe Taper). Take 1/2 inch NPT as an example: 14 threads per inch with an effective thread length of about 16 mm. After threading, wrap 4 to 6 layers of PTFE tape (or apply thread sealant), then screw in within the torque range allowed by elbow pipe fitting dimensions. For instance, the recommended torque for 1/2 inch copper elbows is 20~30 N·m, while plastic elbows only need hand tightening plus an extra half turn to avoid cracking.
Step 4: Install the New Elbow and Conduct Pressure Testing
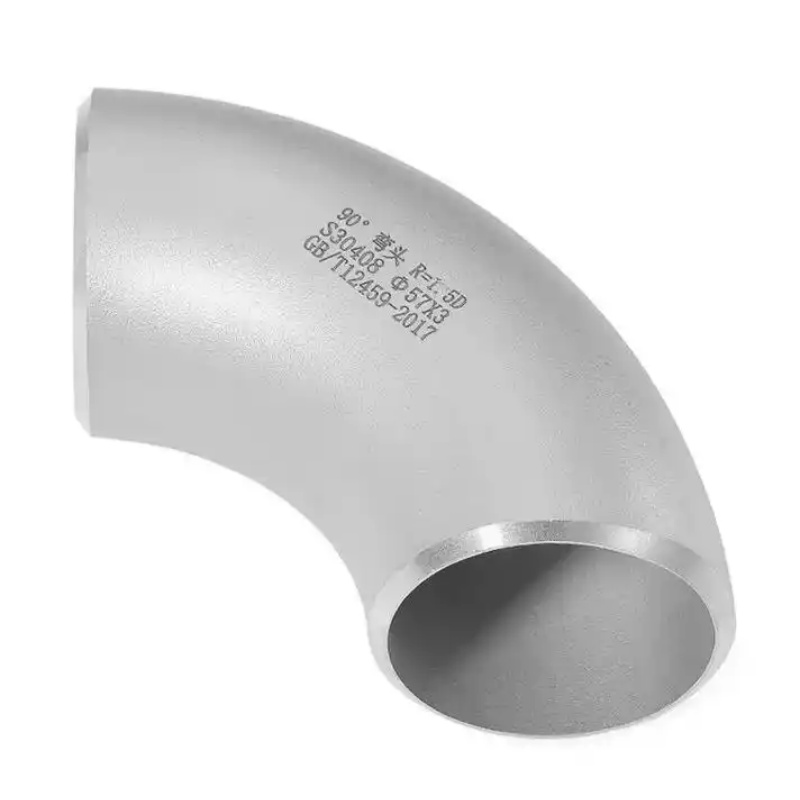
Align the new elbow with the pipe orifice to ensure the axis angle of both ends conforms to the design drawing (such as 45° or 90°). For socket bonded plastic pipes, apply special adhesive evenly and keep stationary for at least 30 seconds after insertion. For metal welding, GTAW is recommended with the root pass current controlled at 70~110 A.
After installation, slowly open the upstream valve and gradually boost the pressure to 1.5 times the working pressure (no less than 0.6 MPa). Hold the pressure for 15 minutes and check all joints and the elbow body for leakage. If used for reverse osmosis flushing pipelines in Water Treatment stations or leachate collection systems in Environmental Protection projects, air tightness testing is also required (e.g., fill with 0.3 MPa dry air and detect leakage with soapy water).
Step 5: Restore Thermal Insulation and Marking
For elbows replaced in outdoor or corrosive environments, re-wrap the insulation layer (such as closed-cell rubber plastic sponge with a thickness of ≥25 mm) and wind waterproof and UV-resistant aluminum foil tape. Finally, attach flow direction arrows and pipeline content labels (such as “Hazardous Chemicals” or “Reclaimed Water”) near the elbow in accordance with ISO 20560 or local standards to facilitate subsequent operation, maintenance and troubleshooting.
Professional Summary
Repairing a broken elbow pipe is not a simple process of cutting out the old one and installing a new one. Only by accurately measuring elbow pipe fitting dimensions, selecting matched 45° pipe elbow dimensions, and strictly performing pressure testing can secondary leakage in the short term be avoided.
Especially in environmental protection and water treatment facilities, improper repair may lead to soil pollution or production shutdown. Therefore, it is recommended to keep a size comparison table of commonly used specification elbows (referring to ASME B16.9 or EN 10253-2) and regularly train maintenance personnel to master thread torque and welding parameters.