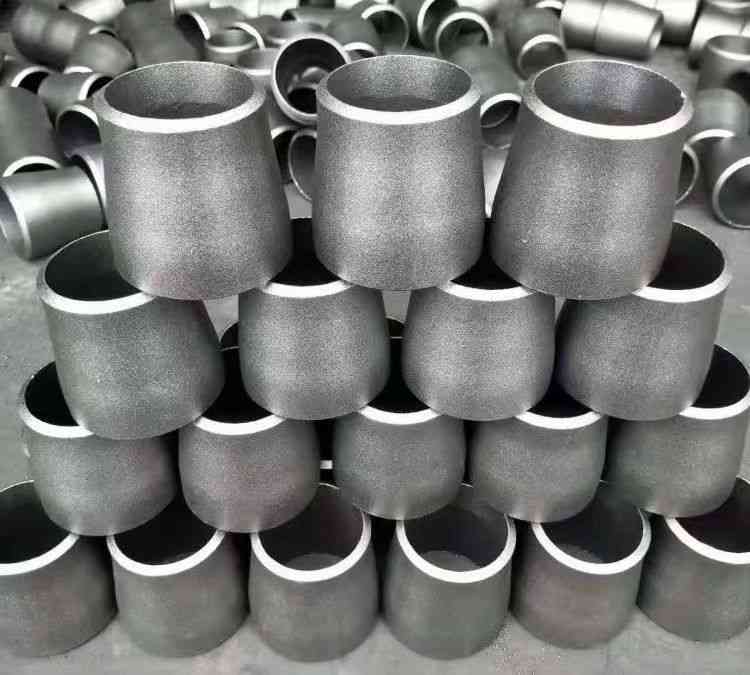
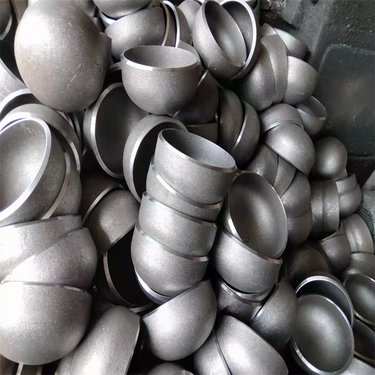
How to Properly Install Copper Elbow Pipe Fittings
✔️Proper installation of copper pipe elbows is critical to achieving long-term leak-free performance of piping systems. Elbow copper pipe fitting is commonly used to alter fluid flow direction, with 90° and 45° as standard available angles.
✔️Below introduces two mainstream installation methods – conventional soldered brazing and solder-free connection – based on ASTM B88 standard copper tubing (Type L wall thickness: 0.040 inch for 1/2-inch tubing and 0.045 inch for 3/4-inch tubing).
I. Preparations and Pipe Cutting
✔️Precise measurement and copper tube cutting are mandatory regardless of the selected installation technique. Use a pipe cutter (RIDGID 206 model recommended) for perpendicular cutting to prevent tube deformation. After cutting, remove internal burrs with a deburring tool; leftover burrs trigger turbulent flow and pressure drop.
✔️Next, polish the outer tube end surface and inner elbow surface with 120-grit abrasive cloth until bare metallic finish is exposed. The cleaned length shall marginally exceed the fitting insertion depth (typically 1 inch / 25 mm).
II. Brazed Installation Procedures
✔️Conventional brazing remains the most dependable sealing solution when you need to install an elbow pipe. First apply a uniform layer of water-based flux (e.g., Oatey 95) onto the pipe end, insert the elbow and rotate slightly for even flux dispersion across the mating surface.
✔️Heat the joint area with a propane torch. Once the component temperature hits approximately 400°C (750°F), feed lead-free solder wire against the joint clearance gap. The solder wicks into the clearance via capillary action to form a continuous sealing ring.
III. Solder-Free Connection: Press-Connect and Push-Fit
✔️Learning how to install elbow joint copper pipe with no solder is practical for jobsites restricting open-flame usage or prioritizing fast construction turnaround. The ProPress press-type system requires dedicated hydraulic crimping tools. Slip the gasket-equipped elbow over the prepared pipe end, then crimp via specialized equipment to form a permanent watertight seal.
IV. Push-fit connections represented by SharkBite deliver superior installation convenience:
✔️simply insert the cleaned pipe end fully into the elbow up to the pre-marked stop line; built-in stainless steel grip rings and internal O-rings lock the tubing and create a tight seal automatically. These fittings carry a working pressure rating of 200 psi (~1.38 MPa), compatible with 1/2″ through 1″ copper tubing sizes.
V. Critical Installation Notes for elbow joint copper pipe installation
✅Always allocate allowance for thermal expansion when you install elbow joint copper pipe. Copper features a thermal expansion coefficient of 16.6×10⁻⁶ /°C, so expansion compensation components are required for long piping runs.
✅Upon completing installation by any connection method, conduct hydrostatic pressure testing at 1.5 times the designed operating pressure for a minimum of 15 minutes to verify zero leakage.
✅Following the above specifications allows flexible selection between brazed and solder-free mounting per site constraints to complete robust copper elbow installation.
Note:
📌All original professional English terms including elbow copper pipe fitting, ASTM B88, Type L, RIDGID 206, Oatey 95, ProPress, SharkBite, how to install elbow joint copper pipe with no solder, install elbow joint copper pipe, install an elbow pipe, psi, MPa are fully retained unchanged as required.