Precision Cutting of 1.5-Inch Pipe: Preparing for Elbow Installation
In piping systems, cutting pipe for a pipe elbow is a fundamental yet critical process. Even a 0.5 mm error can lead to leakage or stress concentration. Based on the ASME B16.9 standard and AIFN’s years of experience in pipe fitting manufacturing, this article details how to cut 1.5-inch steel pipe (nominal OD 48.3 mm, common wall thickness 2.77 mm or 3.73 mm) to perfectly match 90° or 45° elbows. The following can serve as your pipe elbow cutting guide.
Step 1: Tools and Safety Preparation
For cutting 1.5-inch pipe, a band saw or heavy-duty pipe cutter (e.g., RIDGID No. 2 series) is recommended. If using an angle grinder, select a 1.2 mm thick cutting disc. Be sure to wear safety glasses and cut-resistant gloves, as chips from stainless or carbon steel can easily fly.
Step 2: Measurement and Marking – Key Accuracy Points
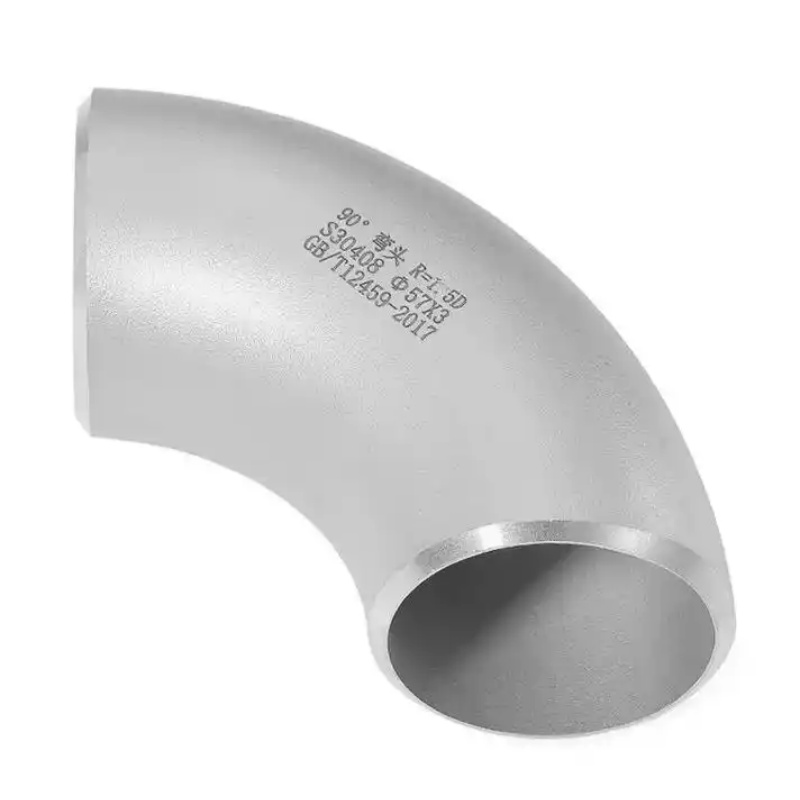
For cutting 1.5-inch pipe for elbow, first determine the elbow’s end-to-center (E/C) distance. For a 90° long-radius elbow, the E/C value for 1.5-inch size is 57.15 mm (2.25 inches). Use a marker to draw two ring lines on the pipe’s outer wall spaced apart by the E/C distance, and extend longitudinal cutting reference lines with a square. Note: If elbows are to be installed on both ends of the pipe, measure twice the E/C value from the pipe end inward, minus the overlap allowance for the elbows.
Step 3: Cutting Procedure
After securing the pipe, advance the tool slowly along the marked line. When using a pipe cutter, tighten ¼ turn per rotation until cutting through the wall thickness. If using an angle grinder, first cut a shallow groove as a guide, then deepen to 80% of the wall thickness, and finally snap off gently (suitable for tougher carbon steel). After cutting, burrs will form on the inner wall – this is the most easily overlooked step for beginners. Use a half-round file or deburring tool to thoroughly clean the inner edge, ensuring precise pipe elbow fitting; otherwise, burrs will alter fluid turbulence characteristics and accelerate erosion.
Step 4: Trial Fit and Adjustment
Insert the cut pipe end into the elbow socket (or align the bevel for butt-weld elbows). The standard gap should be controlled within 1.5 mm. Before welding or threading, use a feeler gauge to check the fit of the mating surfaces. If the fit is too tight, use fine sandpaper to polish the pipe end’s outer wall; if too loose, there may be a dimensional deviation in the elbow – it is recommended to replace it with a fitting conforming to ASTM A234.
Experience Tips
AIFN engineers suggest: for batch cutting, make a stop plate to ensure the length tolerance of each 1.5-inch pipe is within ±0.5 mm. Additionally, cutting too fast can cause pipe end ovality – especially for thin-wall pipes (sch 5S or 10S). Remember: good cutting saves 50% of the adjustment time for subsequent welding or threading.
Reference Standards: ASME B16.9-2018 Factory-Made Wrought Fittings; ASTM A234 Specification for Piping Fittings of Wrought Carbon Steel and Alloy Steel for Moderate and High Temperature Service.