Mastering the Clock Positioning, Function, and Clamping Techniques for Elbow Pipe Fittings
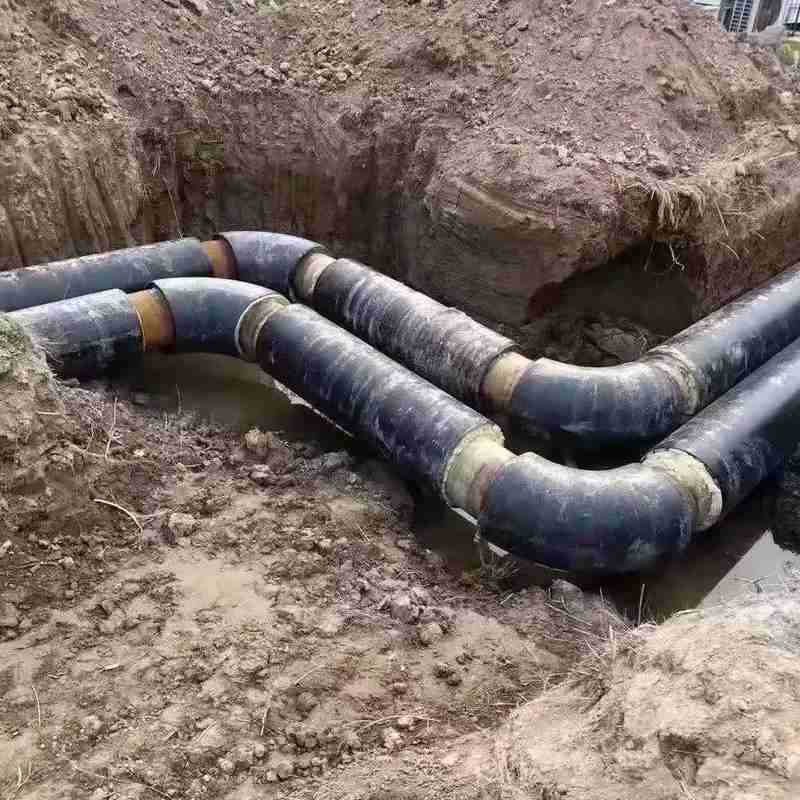
In industrial piping systems, elbow pipe fittings play a critical role in changing the direction of the medium flow. To ensure long-term leak-free operation, installers must understand three core operations: the clock positioning method, the fluid dynamics of the elbow, and the correct clamping and fixation approach.
How to clock a pipe elbow
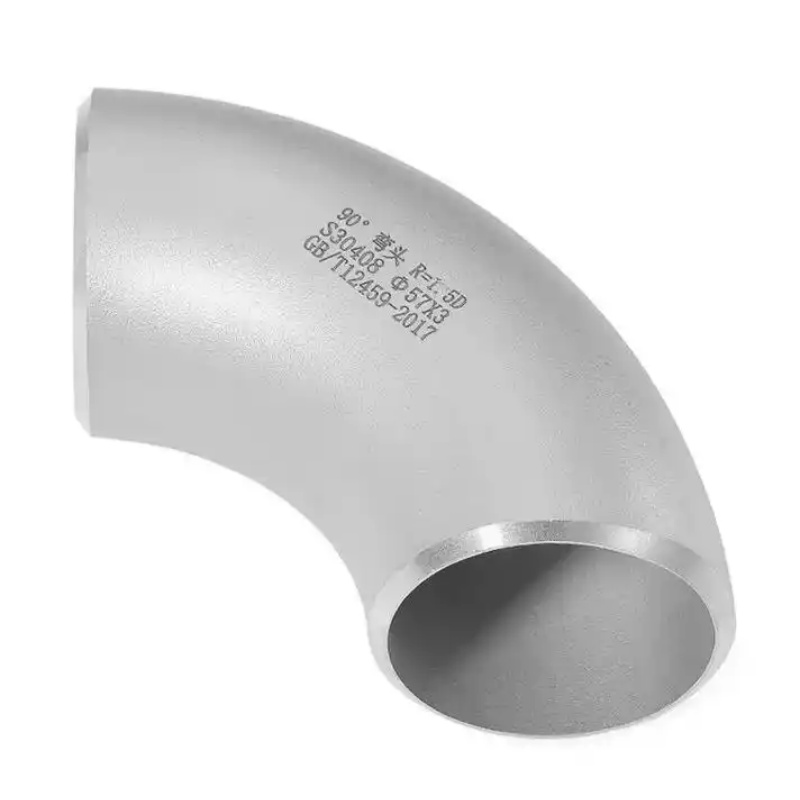
“Clock positioning” means imagining the end face of the elbow as a 12-hour dial. For example, when installing a DN100 (nominal diameter 100 mm), 90° long-radius elbow (center-to-end dimension = 1.5D, i.e., 152 mm), first mark the 12 o’clock direction on both ends of the elbow. If the design drawing requires the outlet to face the 3 o’clock direction, rotate the elbow so that the outlet mark aligns with the pipe reference line.
✅According to ASME B16.9, the angular deviation of the elbow shall not exceed ±1°. In actual construction, using a laser level together with a protractor can control the clock positioning error within ±0.5°, thereby avoiding stress concentration or seal failure caused by misalignment.
How the elbow pipes are played in the system
✅An elbow is not simply a directional change component; its geometry directly affects pressure drop and turbulence intensity.
✅Take a 90° elbow as an example: when the radius-to-diameter ratio (R/D) is 1.5, the resistance coefficient ζ is about 0.3; if a short-radius elbow (R/D=1.0) is used, ζ rises to 0.4–0.45, and the pressure drop increases by approximately 30%. Data shows that for water flowing at 2 m/s, a DN80 long-radius elbow generates a local pressure loss of about 1.2 kPa.
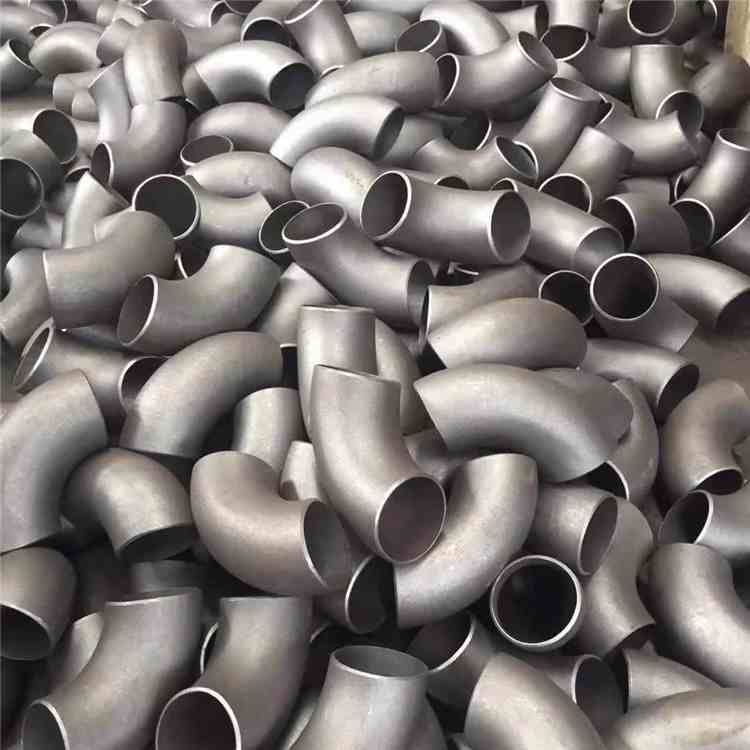
✅In addition, the flow velocity on the inner arc side of the elbow is lower, making it prone to particle deposition. Therefore, chemical pipelines often use elbows with flow guides (e.g., R/D=2.0), which can reduce turbulence intensity by 15%–20%. Correct selection and installation orientation (e.g., arrow pointing to the medium flow direction) can significantly improve system energy efficiency.
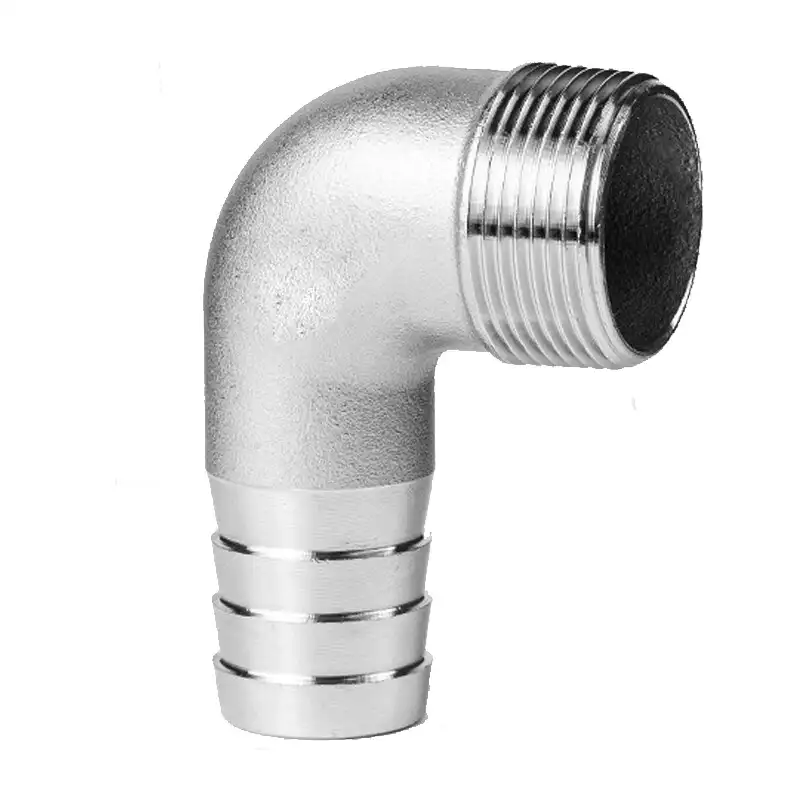
How to clamp a pipe elbow
✔️Before welding or threaded connection, it is usually necessary to temporarily clamp the elbow to ensure positional fixation. A split clamp is recommended, made of 304 stainless steel or galvanized carbon steel.
✔️When clamping, for M10 bolts, the recommended torque is 40–50 N·m – too low a torque may cause displacement, while too high a torque can cause oval deformation of thin-walled elbows (wall thickness schedule Sch10S, about 3.05 mm). If the ovality exceeds 2%, the sealing gasket will fail.
✔️Operation steps:
① Clean the outer wall of the elbow and the clamp lining;
② Place the elbow in the clamp, aligning the clock mark with the reference line;
③ Tighten the bolts alternately in a diagonal pattern, and measure the outside diameter change every 15 N·m. For high‑pressure conditions (≥6.4 MPa), a thrust ring may be added to distribute the clamping force.
📝Summary
Mastering the parametric angle control of clock positioning, the fluid resistance characteristic data of elbows, and the scientific clamping torque range can effectively improve the safety and service life of piping systems. Always follow the ASME B31.3 Process Piping Code and use certified clamps and measuring instruments to ensure that every installation withstands the test of long-term operation.