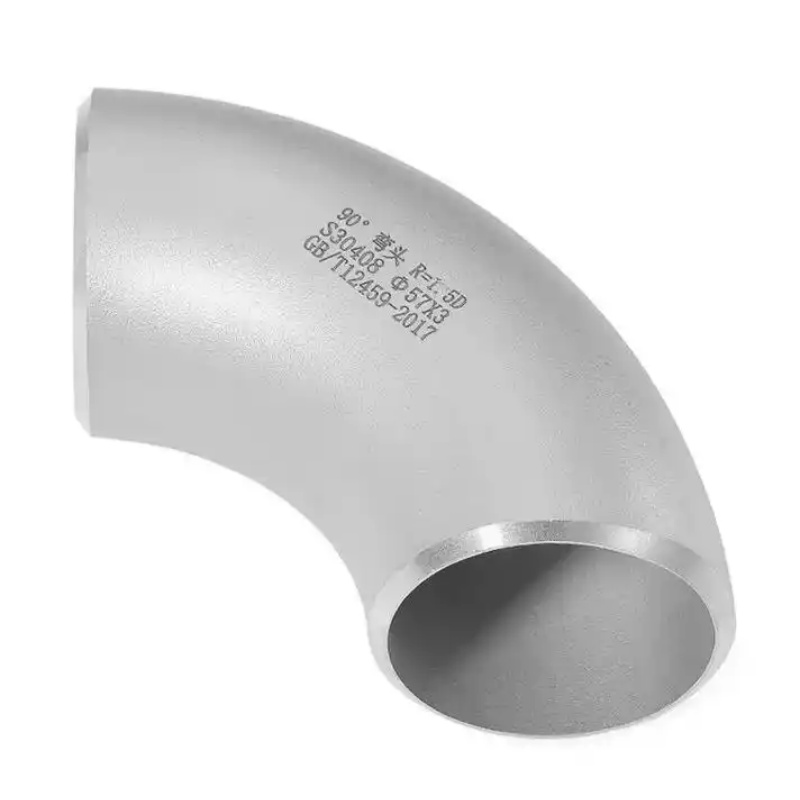
How to Properly Install a Straight Pipe Between Two Threaded Elbows
✔️In industrial piping systems or household threaded piping connections, it is often necessary to add a straight pipe segment between two already fixed threaded elbows. This operation may seem simple, but it requires high precision in thread fit and sealing reliability.
✔️The following standard procedures and key parameters are based on the ASME B1.20.1 standard and years of field experience.
1. Accurately Measure the “Thread Engagement Length”
✔️First, determine the actual net distance between the root faces of the two elbow threads. A common mistake is to directly measure the center-to-center distance of the elbows while ignoring the thread engagement depth.
✔️For NPT 60° taper threads (the most common type, e.g., 1/2″-14 NPT), the standard requires at least 3 to 5 full threads to be engaged after hand-tightening, with an effective engagement length of approximately 7–10 mm.
✔️Therefore, when determining the length of the straight pipe, a thread engagement distance of 6–8 mm must be reserved for each end. It is recommended to use a thread depth gauge or a vernier caliper to measure the reference plane depth of the female threads in the elbow.
2. Prepare and Cut the Straight Pipe Segment
✔️Based on the calculated net length (distance between the two elbow root faces minus the engagement depth reserved for both ends), cut a threaded pipe nipple of the corresponding length.
✔️Note: Commercially available threaded pipe nipple installation typically comes with pre‑machined standard taper threads on both ends. However, if a custom length is required, the threads should be cut manually with a pipe thread die or by machine to meet NPT standards, with a taper of 1:16. After cutting, remove internal and external burrs from the pipe end using a file or deburring tool – burrs can damage the sealing tape and cause leakage.
3. Sealing Treatment and Pre‑Assembly
✔️Clean oil and dirt from the threads, then wrap PTFE tape tightly clockwise (for right‑hand threads) for 3–4 turns, or apply an even layer of thread sealant (e.g., Loctite 567). Then manually screw one elbow onto one end of the straight pipe to the hand‑tight position, and further tighten by 1.5 to 2 turns with a wrench to achieve the standard torque. For 1/2″ NPT threads, the recommended installation torque is 20–30 N·m. Repeat the same procedure for the other end.
4. Alignment and Tightening Techniques
✔️This is the most experience‑sensitive step. Because the thread engagement changes the angular orientation, you may not be able to make both elbows point in the desired direction at the same time.
✔️The solution is: before final tightening, perform a pre‑assembly and mark the optimal starting angle, then use pipe fitting alignment techniques – for example, attach a spirit level to the wrench or use a laser alignment tool – to ensure that both elbows reach the correct orientation during the last 1/4 turn. Avoid over‑tightening (more than 2 turns beyond hand‑tight), as this can cause thread expansion, cracking of the elbow, or complete extrusion of the sealing tape.
5. Pressure Test
✔️After installation, it is recommended to perform a hydrostatic or pneumatic test at 1.5 times the working pressure (e.g., if working pressure is 1.6 MPa, test at 2.4 MPa). Hold the pressure for 15 minutes – no pressure drop indicates a pass.
✔️By following these rigorous measurement and operation steps, even a non‑professional can safely and leak‑free install a straight pipe between two threaded elbows. The core principle of threaded connections is not “the tighter, the better”, but rather precise thread engagement distance and proper sealing techniques.