How to Repair Pipe Cracks Near an Elbow: A Practical Guide for Leaky Pipe Elbows and Water Pipe Elbows
When a crack appears near a pipe elbow, if not addressed promptly, it can lead to water leakage, reduced water pressure, and even structural damage.
✔️ Whether it’s how to fix a leaky pipe elbow or how to fix a water pipe elbow, the core principles are first to stop the leak, then reinforce or replace the component.
✔️ This guide is based on international pipeline repair standards (e.g., ASTM F2648) and provides two reliable solutions.
Step 1: Assess the Crack Type and Pipe Material
Use a caliper to measure the crack length:
-
Cracks smaller than 25 mm can be repaired with epoxy putty.
-
Cracks exceeding 50 mm or those located at socket weld joints should be addressed by replacing the elbow.
Common pipe materials include copper pipe (pressure rating 1.0–2.5 MPa), PVC (maximum temperature 60°C), and galvanized steel pipe.
First, shut off the main water valve and drain the pipeline. Wipe away oil and dirt around the crack with a dry cloth.
Step 2: Temporary Leak Stopping (for Emergencies)
✔️ For repairing a cracked pipe elbow as a temporary fix, a self-adhesive silicone repair tape is recommended.
Wrap the tape from the start to the end of the crack, overlapping by 50% and stretching to 150% of its original length. This can withstand water pressure up to 0.6 MPa.
✔️ This method is also a common temporary fix for water pipe elbow leak, lasting up to 72 hours until professional repairs can be made.
Step 3: Permanent Repair Methods
Epoxy Filling:
Mix steel-based epoxy putty and apply it evenly, extending 10 mm on both sides of the crack. Allow 4 hours for curing, then sand smooth. Suitable for copper and stainless steel elbows.
Pipe Clamp + Rubber Pad:
Use a 30 mm wide stainless steel pipe clamp with an EPDM rubber pad inside. Tighten to a torque of 5 N·m. This solution can handle hot water systems (up to 90°C) at pressures below 1.2 MPa.
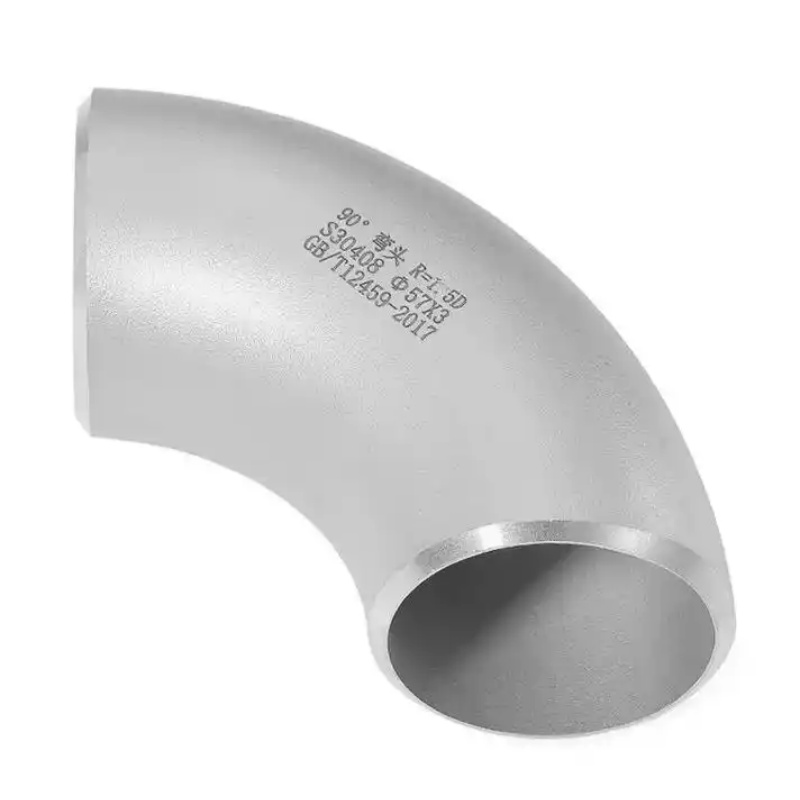
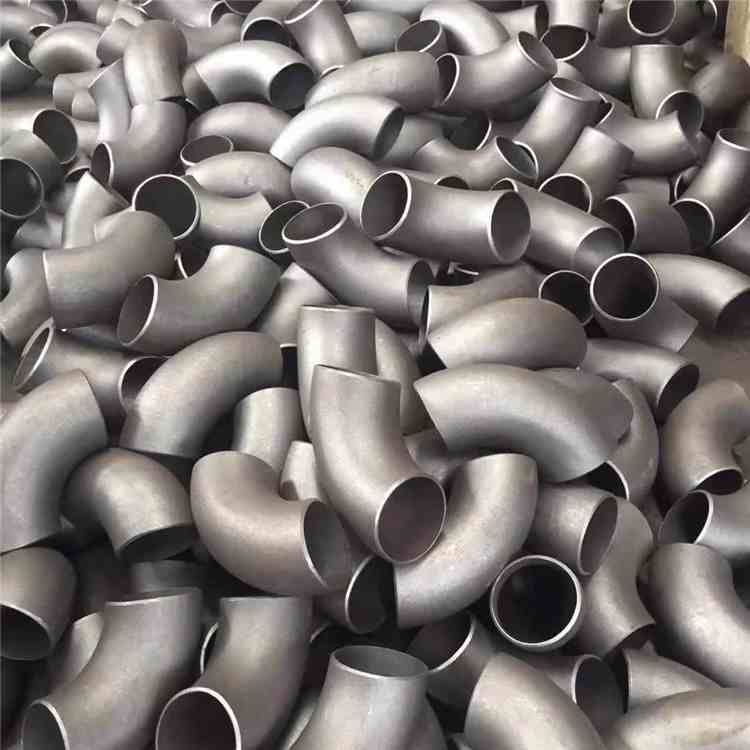
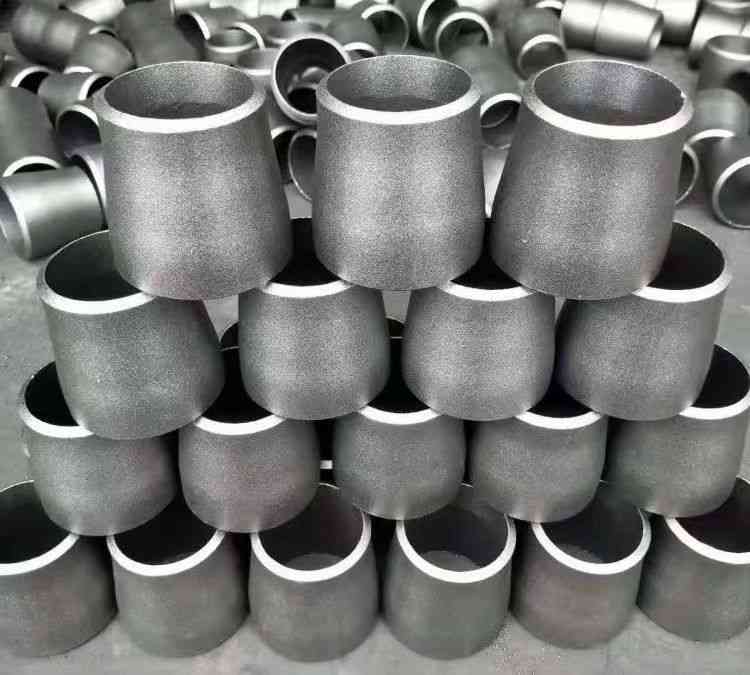
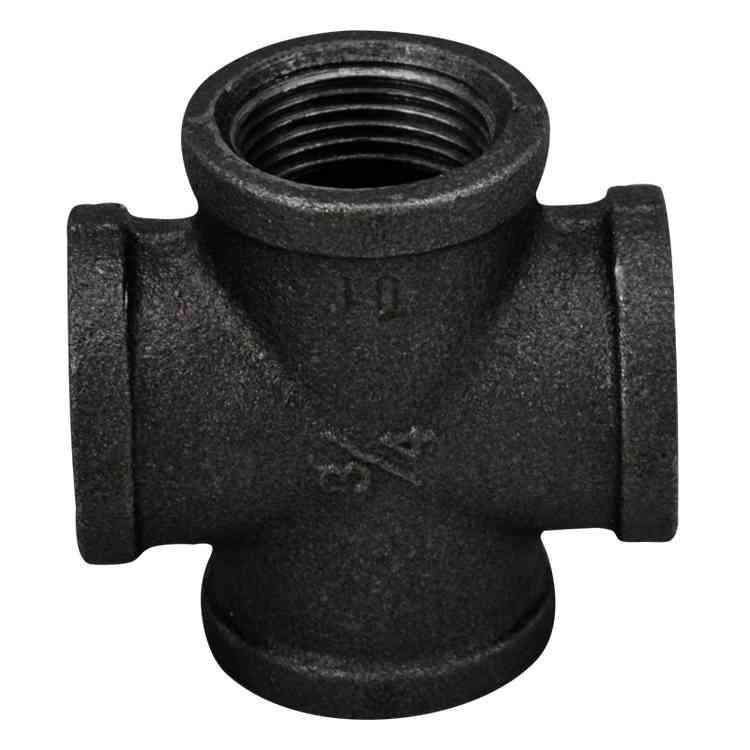
Replace the Elbow:
If the crack extends to the threaded joint, the pipe section must be cut out. Replace the original component with a slip coupling or a universal elbow, ensuring misalignment is within 2°.
Step 4: Pressure Test and Acceptance
After restoring water supply, conduct a pressure test at 1.5 times the working pressure for 15 minutes. A pressure drop of no more than 0.05 MPa is considered acceptable. Finally, apply leak detection fluid to the weld seam – no bubbles should form.
Professional Tip:
📝For threaded cast iron elbows, if the crack depth exceeds 1/3 of the wall thickness, welding is strictly prohibited. The entire elbow must be replaced.
📝Following these steps, you can safely and efficiently repair pipe cracks near an elbow. If you lack welding or heat fusion tools, please contact a licensed plumber.