How to Fix a Leaking Pipe Elbow
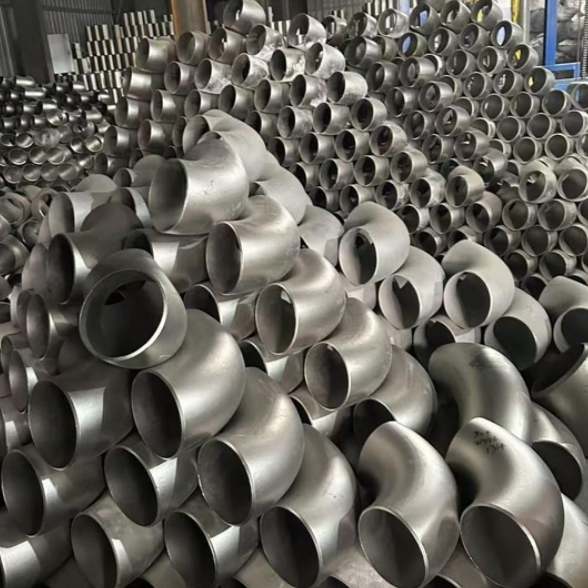
A pipe elbow is a critical component in piping systems that changes the flow direction of media, and it is also one of the most prone positions for leakage. Whether it is a household drainage system or an industrial pipeline, a leaking elbow not only causes resource waste but may also lead to structural damage or production downtime.
From a professional perspective, this article provides a systematic and reliable repair solution combined with specific parameters and operational details. Meanwhile, we will also discuss the special requirements for elbows in the food and pharmaceutical industries — these sectors have almost zero tolerance for leakage, as any minor seepage may result in product contamination or batch scrapping.
Step 1: Accurately Diagnose Leakage Types
Before starting the repair, it is essential to identify the root cause of leakage. Common leakage modes include:
- Threaded joint seepage: Usually caused by aging sealing tape, damaged threads or insufficient installation torque. For instance, a 1.5 inch drain pipe leaking at elbow joint is very typical in residential basement or bathroom vertical drainage pipes. At this time, water slowly seeps along thread gaps, often accompanied by white or green scale crystallization.
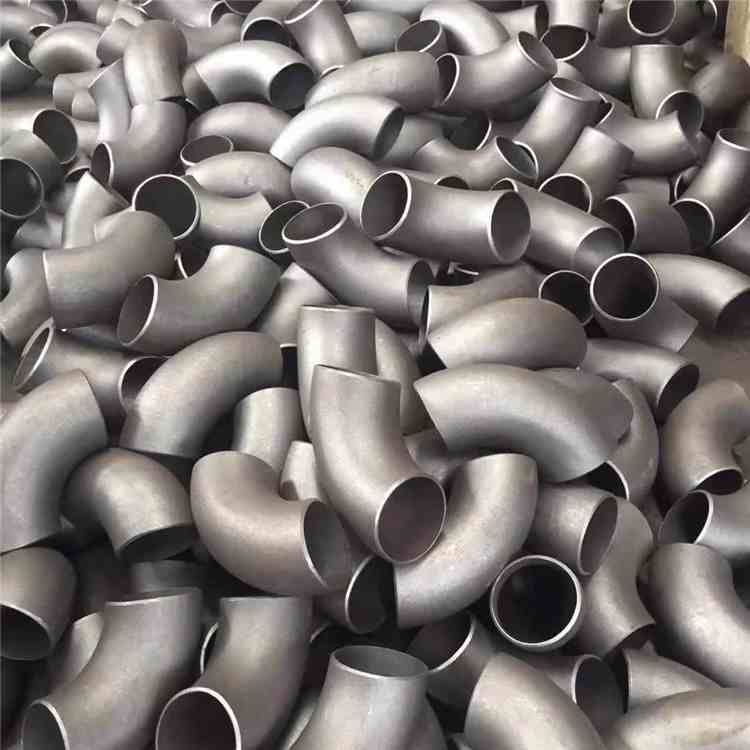
- Weld seam or body crack: Mostly found in iron pipes or copper pipes. If you notice a 1.5 inch iron pipe leaking at elbow and the leakage point is not at the thread but on the back arc of the elbow, it is highly likely that fine cracks have formed on the pipe wall due to corrosion or stress fatigue. The corrosion rate of iron pipes can reach 0.5mm per year in acidic water with a pH value below 6.5, while the wall thickness of a standard Schedule 40 1.5-inch iron pipe is usually 3.4mm. Once the thickness is reduced to below 2mm, the risk of leakage rises sharply.
- Gasket or seal failure: In wafer-type or flange-connected elbows, aging rubber or PTFE gaskets will cause interface leakage.
Professional Tip: Use a pressure gauge to measure the static pressure of the system. The pressure of a domestic water supply system is generally 2.5~4 bar (approximately 36~58 psi); if the pressure fluctuation exceeds ±0.3 bar after repair, it indicates that the seal has not been fully restored.
Step 2: Safe Isolation and Drainage
Close the upstream valve and open the drain outlet at the lowest point of the system. For drainage pipes, confirm that all residual water in the pipeline is completely drained. When repairing a 1.5 inch drain pipe leaking at elbow joint, special attention should be paid: residual sewage in drainage pipes may contain corrosive chemical substances (such as detergent residue or acidic wastewater). Always wear acid and alkali resistant gloves and goggles during operation.
Use two pipe wrenches (or chain wrenches) to clamp the elbow and the straight pipe section respectively — one for fixing and the other for applying loosening torque. For 1.5-inch iron pipes, the recommended torque is 40~60 N·m; for 1-inch copper or plastic pipes, reduce it to 15~25 N·m to prevent thread slipping.
Step 3: Disassembly and Component Evaluation
After removing the leaking elbow, carefully inspect the following parts:
- Thread condition: Use a thread gauge to check the integrity of the thread profile. The NPT (National Pipe Thread) standard requires a specific taper (1:16) corresponding to the number of threads per inch. If the thread damage exceeds 2 threads, it is recommended to replace the elbow.
- Internal wall corrosion: Multiple layers of rust may form on the inner wall of iron pipe elbows — loose Fe₂O₃ (red rust) and dense Fe₃O₄ (black rust). Use a vernier caliper to measure the remaining wall thickness. The ASME B16.9 standard stipulates that the wall thickness at the elbow back shall not be less than 87.5% of the straight pipe wall thickness. If the measured value is lower than this standard, re-leakage is highly likely even after repair.
- Sealing surface flatness: Check the flatness of flat-sealed elbows (such as sanitary clamp joints) with a straightedge or knife straightedge. The food and pharmaceutical industries require a surface roughness of Ra ≤ 0.8μm without any scratches or pits.
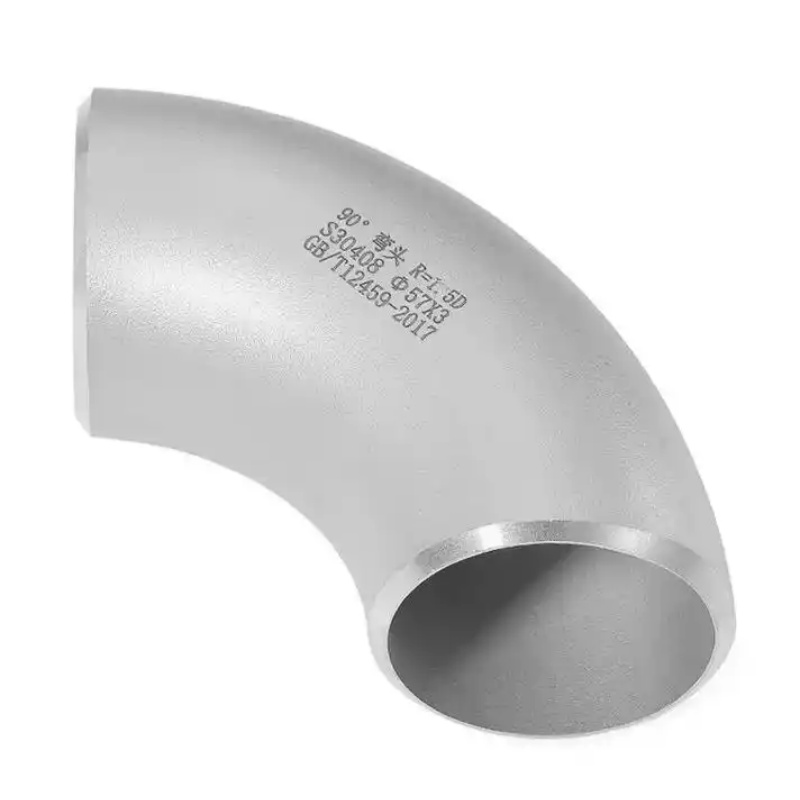
Practical Case: During the maintenance of purified water (PW) pipelines in a pharmaceutical workshop, we found pinhole leakage at the butt weld of a 1 inch pipe 90 degree elbow. Made of 316L stainless steel, the elbow was designed for 6 bar working pressure but frequently subjected to 80°C hot water cleaning (CIP) and cooling cycles in actual operation. Thermal cycling led to intergranular corrosion in the heat-affected zone of the weld — chromium carbide precipitated along grain boundaries, reducing the corrosion resistance of chromium-depleted zones.
The final solution was not simple repair welding, but cutting off the elbow and replacing it with a solid solution treated elbow with low carbon content (C≤0.03%). Reconstruct with TIG (Tungsten Inert Gas) welding while controlling the interlayer temperature ≤150℃.
Step 4: Select Proper Replacements and Sealing Materials
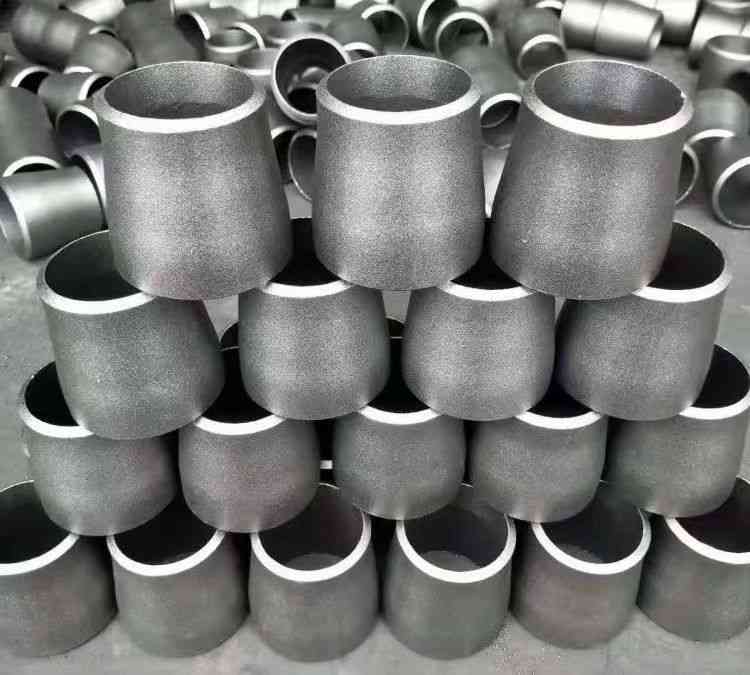
Select suitable pipe fitting elbows according to application scenarios. The key selection parameters are listed below:
| Application Field | Common Material | Wall Thickness Standard | Surface Treatment | Sealing Material |
|---|---|---|---|---|
| Household Drainage | PVC/UPVC | Schedule 40 (2.4mm wall thickness for 1.5 inch) | Smooth inner wall | Solvent cement + O-ring |
| Industrial Water/Oil | Carbon Steel (A106 Gr.B) | Schedule 80 (3.7mm wall thickness for 1.5 inch) | Black paint or galvanized | PTFE tape + thread sealant |
| Food/Pharmaceutical | 316L Stainless Steel | Schedule 10S (2.5mm wall thickness for 1 inch) | Electropolished (Ra≤0.4μm) | EPDM or PTFE gasket |
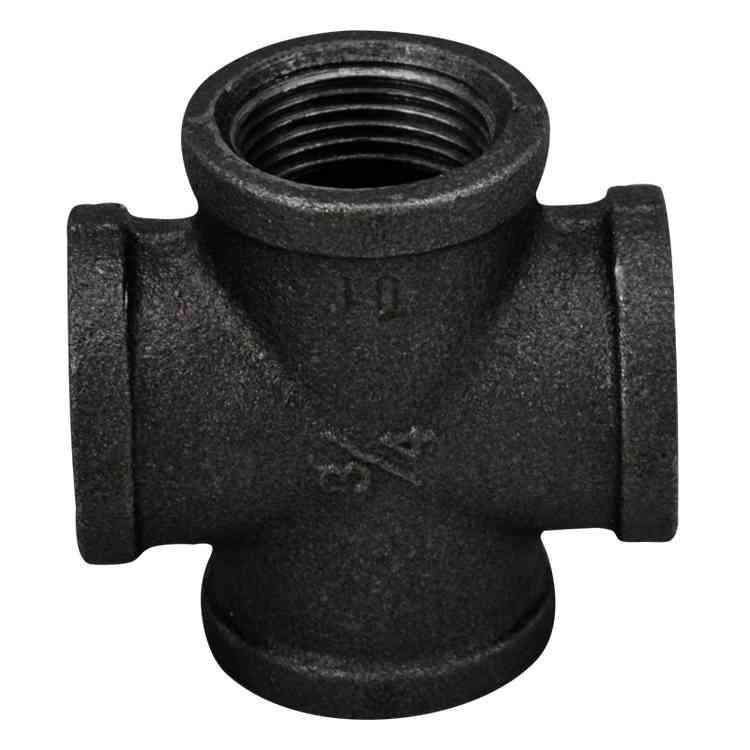
For general repair of a 1 inch pipe elbow with threaded connection, use 12mm wide and 0.1mm thick PTFE tape, wrap it tightly 4~6 circles along the thread direction, and apply a small amount of anaerobic pipe thread sealant (e.g., Loctite 567) at the thread root. It can withstand pressure up to 200 bar after curing.
For special 1 inch pipe 90 degree elbow used for food-grade media (such as milk and syrup), sanitary elbows with clamp quick-fit connections must be adopted. They feature seamless and dead-corner-free inner walls with inner fillet radius ≥3mm to avoid microbial retention. During installation, use food-grade silicone O-rings certified by FDA 21 CFR 177.2600, with clamp torque controlled at 10~15 N·m. Over-tightening will damage the sealing ring.
Step 5: Reinstallation and Pressure Testing
- Cleaning: Wipe threads and sealing surfaces with non-woven fabric dipped in isopropyl alcohol or acetone to remove grease and old glue stains. For iron pipes, use a steel wire brush to remove loose rust without excessive grinding that damages the taper.
- Assembly: Screw in the elbow manually until tight, then rotate another 1.5~2 circles with a pipe wrench. Avoid over-screwing to prevent cracking the female port (especially plastic or brass fittings).
- Curing and Pressure Test: The sealant requires 12~24 hours of curing at room temperature (depending on relative humidity). Then slowly open the inlet valve, boost the pressure to 1.5 times the working pressure at a rate of 0.5 bar per minute (e.g., 6 bar test pressure for 4 bar working pressure), and hold the pressure for 15 minutes. The repair is qualified if the pressure drop is no more than 0.1 bar and there is no visible leakage.
Step 6: Preventive Maintenance Recommendations
Inspect exposed elbows every 6 months, especially pipe sections where 1.5 inch iron pipe leaking at elbow frequently occurs. Fluorescent leak detection agent can be applied (color development under ultraviolet light) to detect early micro-seepage.
For hot water pipelines with frequent start-stop operation, it is recommended to install stainless steel bellows expansion joints before and after elbows to absorb thermal expansion stress.
Food and pharmaceutical factories shall establish welding files: record the welder qualification, welding parameters (current, interlayer temperature) and endoscopic inspection report of each pipe fitting elbows. Complying with FDA and cGMP (current Good Manufacturing Practice) requirements, these documents are indispensable during audits.
Conclusion
Repairing a leaking pipe elbow requires in-depth understanding of material properties, connection standards, sealing principles and working condition stress. From simple leak stoppage of household 1.5-inch drainage elbows to precision welding of 1-inch 90-degree elbows in pharmaceutical workshops, every successful repair is based on accurate diagnosis, compliant material selection and rigorous operation.
If your system operates under high pressure (>16 bar) or conveys hazardous media (corrosive, flammable, bioactive), please consult a professional engineer and never perform live pressure operation by yourself.