How to Connect Copper Elbows to Copper Pipe: A Guide to Brazing/Soldering Copper Pipe Fittings
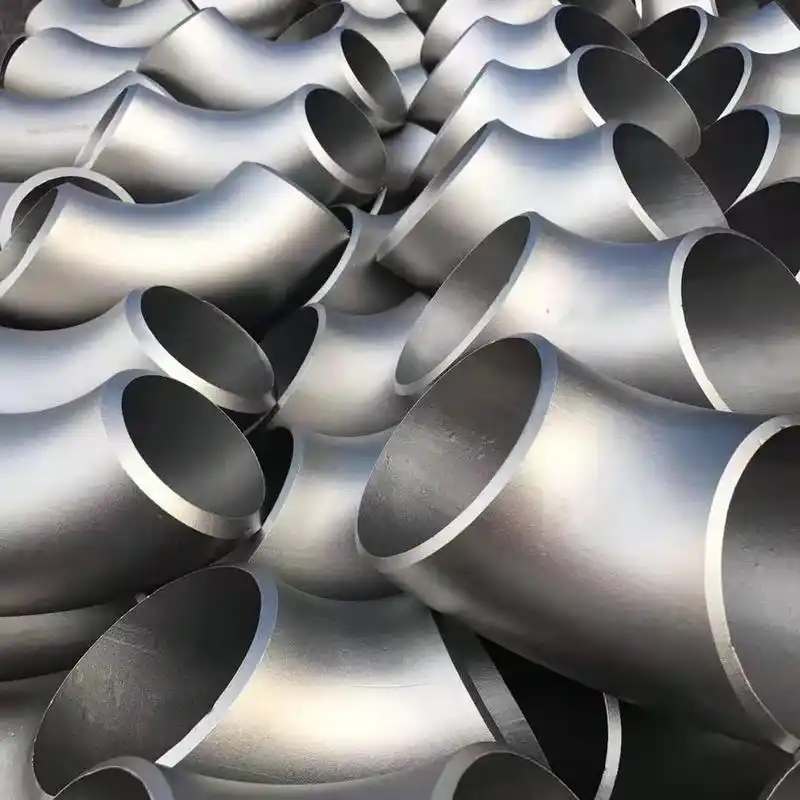
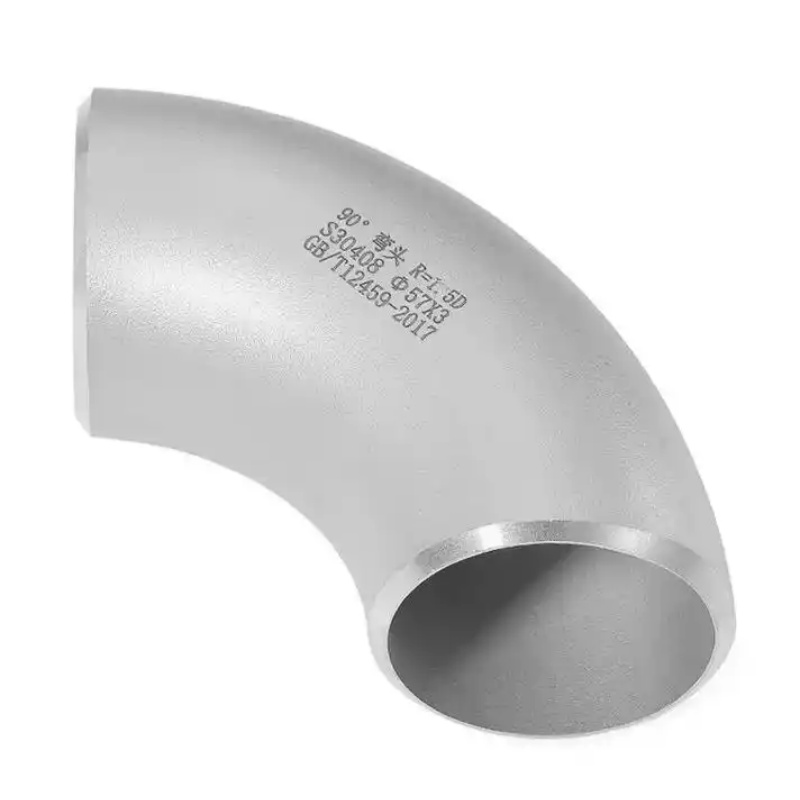
In plumbing systems, copper elbows are commonly used to change pipe direction—the most frequent being the 90-degree copper elbow, which enables a right-angle flow transition.
Why Choose Soldered Connections?
✔️Soldered joints are compact, cost-effective, and suitable for tight spaces, providing reliable, permanent connections. Compared to push-to-connect fittings and press systems, soldering offers better control and durability when done correctly. Wrought copper fittings conforming to ASME B16.22, used in conjunction with seamless copper tube per ASTM B88, ensure consistent joint quality and dimensional compatibility.
Tools and Materials Required for Soldering Copper Elbows
Before starting, prepare the following tools and materials:
-
Copper tube and copper elbow fittings
-
Tube cutter and reaming tool
-
Sand cloth or abrasive mesh
-
Fitting brush (for internal cleaning of fittings) and acid brush (for applying flux)
-
Flux – recommended: Oatey No. 95 Tinning Flux or H-20® Water-Soluble Flux
-
Lead-free solder – recommended: Safe-Flo® or Oatey® Silver Lead Free series
-
Propane torch or MAPP gas torch
-
Fire pad, heat-resistant gloves, safety goggles, and a fire extinguisher
Step 1: Cutting and Deburring
✔️Use a tube cutter to cut the copper pipe to the required length, ensuring a square cut. After cutting, use a reaming tool to remove burrs from the inside of the pipe; otherwise, burrs can restrict flow, cause cavitation, or accumulate debris over time. The outside surface of the pipe should also be polished with sand cloth to a bright finish to remove the oxide layer.
Step 2: Cleaning the Fitting and Pipe
✔️This step is critical to joint quality. Any oxide, oil, or contaminants on the outer pipe surface and inner fitting surface will prevent solder from properly adhering. Incomplete cleaning is the number one cause of leaking joints.
Step 3: Applying Flux
✔️Using an acid brush, apply a uniform, thin coating of flux to the outside of the copper pipe and the inside of the copper elbow fitting. Flux acts as a wetting agent, helping molten solder spread evenly over the metal surfaces to be joined when heated.
Step 4: Heating the Joint
✔️Light the propane torch and direct the flame at the copper elbow fitting body (not the pipe). Be careful not to let the copper tube temperature exceed 425°C, otherwise the flux will burn and oxidation will accelerate. When the flux begins to bubble and flow out of the joint, it indicates that the temperature is right for solder melting.
Step 5: Applying Solder
✔️Keep the torch heating the copper elbow fitting, and touch the lead-free solder wire to the joint—do not melt the solder directly with the flame; instead, let the heat from the heated copper tube and fitting melt the solder. The solder will be drawn into the gap between pipe and fitting by capillary action.
✔️When the solder completely fills around the joint and a shiny ring appears, remove the torch and allow the joint to cool naturally. For copper elbows, it is recommended to heat and solder both ports simultaneously to avoid heat from the second joint affecting the first completed joint.
Step 6: Cooling and Inspection
✔️Allow the joint to cool naturally after soldering—do not quench with water. After cooling, wipe off residual flux with a dry cloth. Allow sufficient cooling before pressurizing the system. Before正式 water service, flush the line for at least 5 minutes to remove residual flux and debris.
Common Mistakes and Professional Tips
-
Water in the pipe: As long as water is present, the temperature will be limited to 100°C (boiling point of water), and solder will never melt. Always drain and ensure the pipe is dry before soldering.
-
Insufficient or excessive heating: Underheating prevents solder flow; overheating burns flux and accelerates oxidation.
-
Solder selection: For drinking water systems, lead-free solder must be used, with lead content not exceeding 0.2%. For high‑pressure or high‑temperature (above 250°F/121°C) systems, 95‑5 tin‑antimony solder or ASTM B32 Alloy E/HB solder is recommended. Solder meeting ASTM B32 is the standard choice for copper tube joints.
-
Pressure ratings: A properly made soldered copper joint, under non‑shock conditions, can be rated up to 200 PSI with a maximum service temperature of 400°F (depending on the solder alloy).
📌By mastering these techniques, you can confidently perform copper pipe elbow installation and achieve professional‑grade results with sweat copper elbow fitting procedures. Skillful use of lead-free solder copper pipe soldering not only ensures long‑term system reliability but also meets safety and environmental requirements for modern potable water plumbing systems.