How to Install a Copper Elbow into a Water Pipe – Professional Guide
✔️In residential or commercial plumbing systems, copper elbows are core components for changing the direction of water flow. Proper installation not only prevents leaks but also ensures long-term system stability.
1. Preparation: Tools and Materials
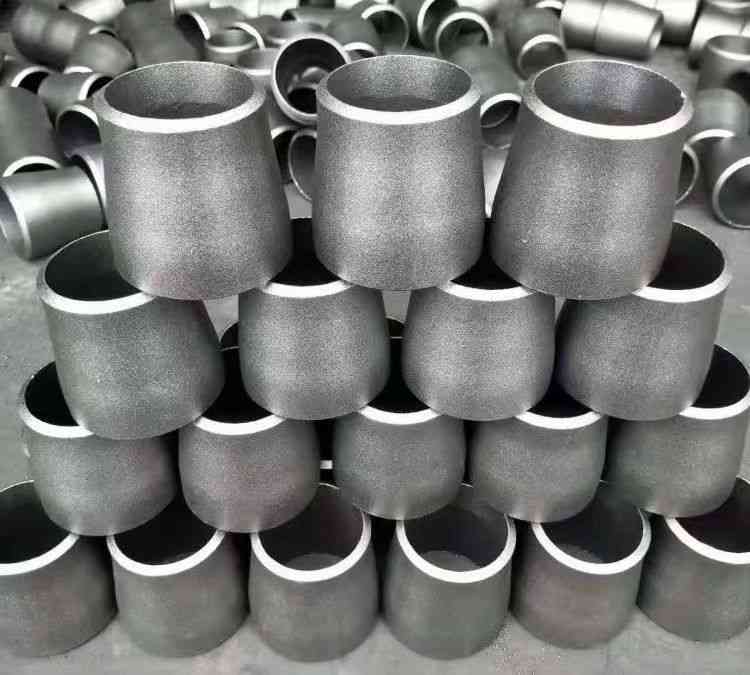
✔️Tube cutter, deburring tool, propane torch (operating temperature approx. 400°C/750°F), lead-free solder wire (meeting NSF/ANSI 61 drinking water standard), water-soluble flux, heat-resistant cloth, and safety goggles. Common copper pipe sizes: 1/2 inch (OD 15.88mm, wall thickness 0.81mm) or 3/4 inch.
2. Installation Steps
Cutting and Cleaning:
✅Use a tube cutter to cut the pipe perpendicularly to avoid deformation. Remove internal and external burrs with a deburring tool – otherwise turbulence may cause electrochemical corrosion. Then polish the pipe end and the inside of the elbow with a wire brush or sandpaper until bright (oxide layer prevents soldering).
Applying Flux:
✅Apply a thin, even layer of flux to the outside of the pipe end and the inside of the elbow. It cleans the surfaces and allows solder to flow by capillary action.
Assembly and Heating:
✅Fully insert the pipe into the elbow (rotate 1/4 turn to distribute flux evenly). Light the torch and heat the elbow joint using the outer flame – do not directly burn the solder. 🌈When the flux bubbles and turns a liquid copper color (about 20 seconds), touch the solder wire to the joint; it will melt and be drawn into the gap automatically. 🌈At ideal soldering temperature, the solder should penetrate to a depth of at least 1.5 times the pipe diameter.
Cooling and Testing:
✅Allow natural cooling for 2 minutes, then wipe off residual flux with a damp cloth (acidic residue can corrode copper pipes). Turn on the water supply and check for leaks under a pressure of 40–60 psi.
3. How to Repair a Copper Pipe Elbow
✔️If a pinhole leak or cracked solder joint is found at the elbow, first shut off the main water valve and drain the pipe.
✔️For repair, use a tube cutter to cut the pipe 50mm on each side of the leak point, clean the surfaces, and replace the damaged section with a slip repair coupling (such as ProPress or solder type). Note: Do not attempt to re-solder the original spot, as residual moisture will prevent solder adhesion.
4. How to Replace a Copper Pipe Elbow
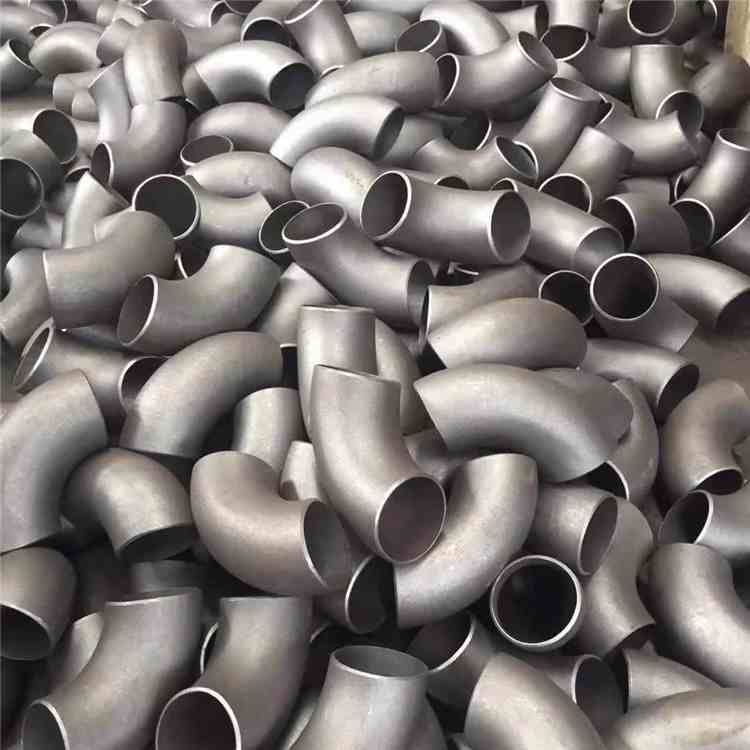
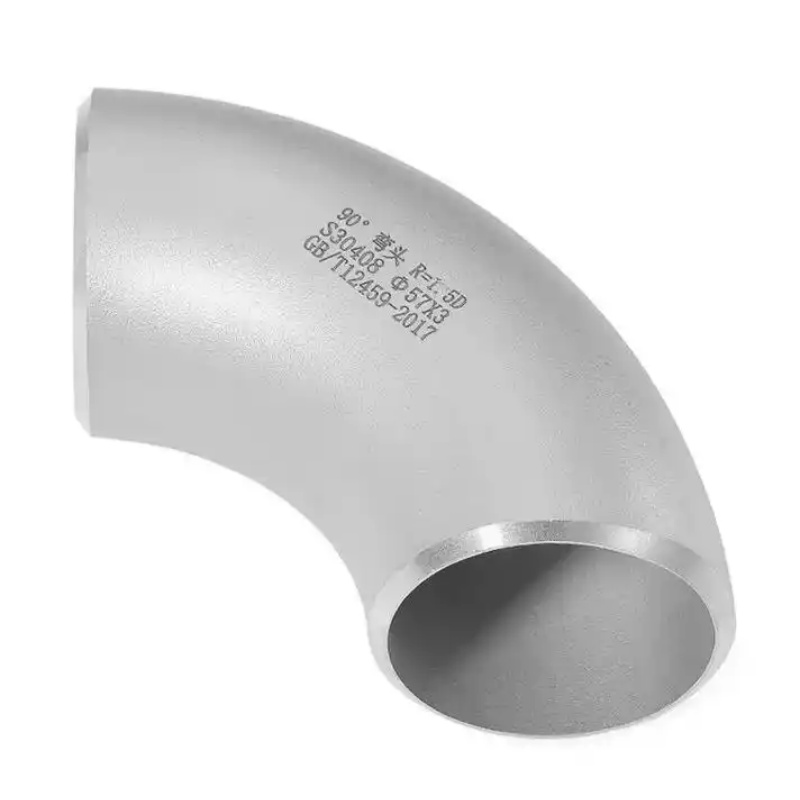
✔️Replacement is necessary when the elbow shows extensive green corrosion (copper oxidation) or wall thinning below 0.5mm after multiple repairs. 🌈The procedure is similar to installation: remove the faulty elbow, leaving enough straight pipe length (at least 25mm of soldering space on each end). 🌈If the pipe is embedded in a wall, use an internal expansion puller to extract the old fitting. For replacement, it is recommended to use a seamless elbow of the same brand (bend radius R = 1.5D), and repeat the full cleaning and soldering process.
Professional Tip: After each installation or replacement, take a photo of the pressure test reading (e.g., 0.6 MPa held for 15 minutes without drop) and file it as construction proof. For drinking water systems, be sure to use lead-free solder (lead content ≤0.2%) to avoid heavy metal contamination.