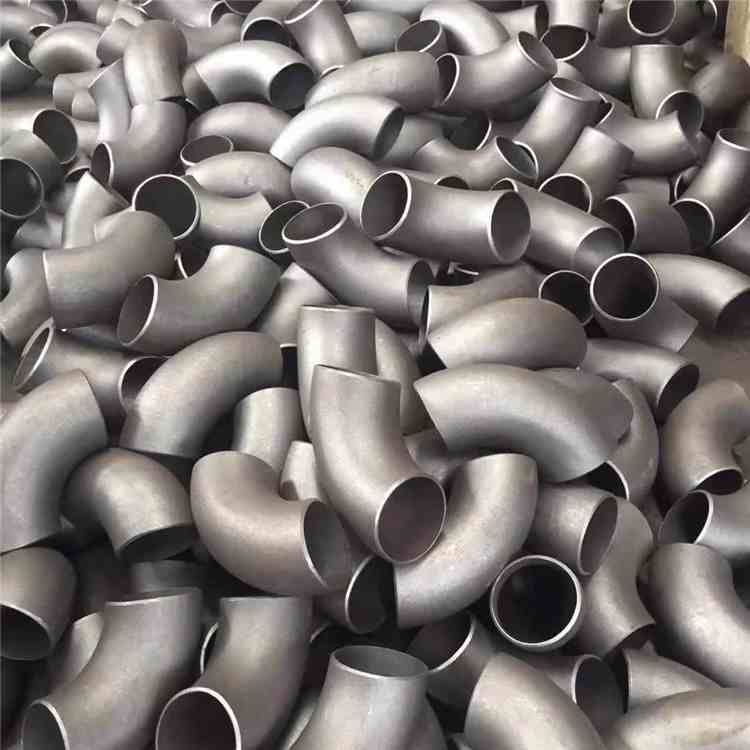
How to Install a New 90° Elbow on a Galvanized Pipe
✔️In galvanized piping systems, replacing or adding a 90° elbow is a common repair and modification task. Proper installation ensures reliable sealing and avoids early failure due to stress or corrosion.
Preparation and Safety
✔️Close the upstream valve and drain the pipe. Galvanized pipes typically use NPT tapered thread connections, so you will need pipe wrenches, a pipe cutter, a threading machine (or manual die stock), a deburring tool, PTFE thread seal tape, or pipe sealant.
Note: Zinc dust generated during cutting or threading is hazardous if inhaled. Work in a well-ventilated area and wear a mask.
Key Steps
Cutting and Cleaning
✔️Use a pipe cutter to cut the old pipe or the new pipe section squarely, keeping the cut end smooth. Use a reamer to remove internal and external burrs—remaining burrs can disturb water flow and damage the proper threading die size. For example, a 1/2-inch galvanized pipe requires a 1/2-inch NPT die, and the die must fully engage the pipe wall.
Threading
✔️Secure the pipe, apply cutting oil to the die, and advance it counterclockwise to cut 8–10 full threads. Tapered threads require a tight transition from the small end to the large end. Inspect the threads for missing material or skewness—if the threads are too shallow, the connection will slip when tightened; if too deep, the wall thickness is reduced, lowering pressure capacity.
Cleaning and Sealing
✔️Use a wire brush to remove oil and debris from the threads. Then proceed with pipe joint compound application: evenly apply a thin layer of anaerobic sealant (e.g., Loctite 567) along the thread direction, or wrap 3–5 turns of PTFE thread seal tape (avoid covering the first thread to prevent tape from being sheared into the pipe). For galvanized material, using both sealant and tape is recommended to achieve a higher pressure rating.
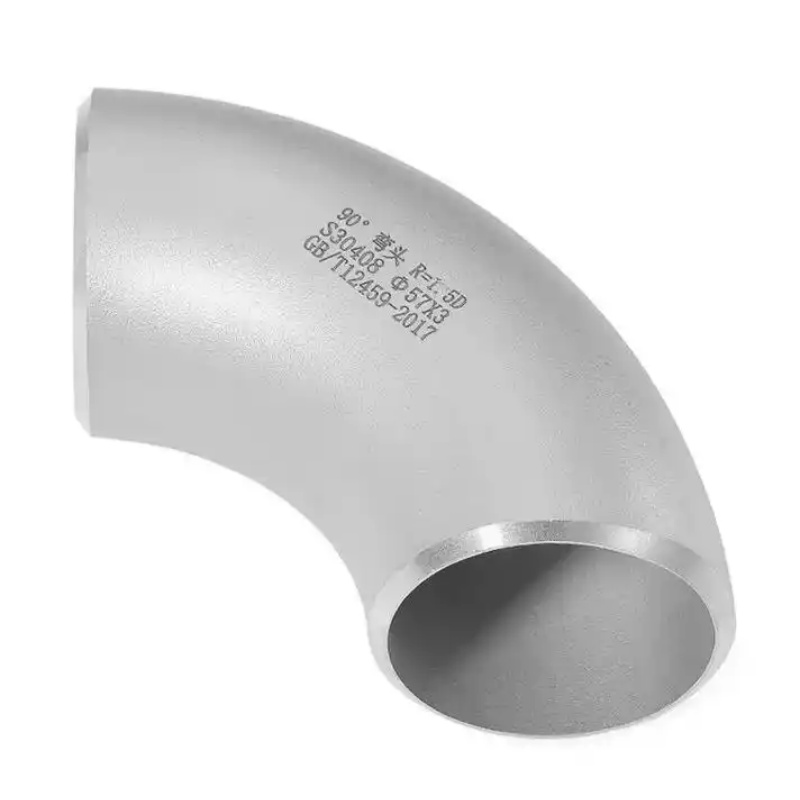
Installing the Elbow
✔️Hand‑thread the new 90° galvanized elbow onto the pipe until resistance increases. Then use two pipe wrenches (one on the pipe, one on the elbow) to apply the correct torque specification for galvanized elbows. 🌈Reference industrial data: 1/2‑inch galvanized pipe recommended torque is 20–30 ft·lbs (approx. 27–40 N·m); 3/4‑inch is 35–45 ft·lbs. Excessive torque can crack the elbow or deform the pipe; insufficient torque leads to poor sealing. After tightening, the outlet of the elbow should align with the target pipe axis. Allow no more than 1/4 turn further tightening.
Pressure Test and Inspection
✔️Slowly open the valve and apply soapy water to all threaded joints. If no bubbles appear for 10 minutes under stable pressure, the installation is acceptable. If leakage occurs, disassemble, re‑clean, re‑seal, and re‑tighten.
Professional Advice
✔️ Avoid using ordinary PVC glue or non‑pipe‑grade sealants; they cannot withstand the typical working pressures above 120 psi common in galvanized systems.
✔️If old threads are severely corroded, cut and re‑thread rather than forcing installation.
📌Reference ASME B1.20.1 standard: galvanized pipe threads shall have a taper of 3/4 inch per foot to ensure a metal‑to‑metal wedge seal.
📝Following the above procedure allows safe and durable installation of a 90° elbow on galvanized pipe. For high‑pressure or gas systems, always commission a licensed pipefitter.