Connecting Copper Pipe Elbow: Two Reliable Methods for a Leak-Free Copper Elbow Connection
Connecting a copper pipe elbow is a fundamental skill in pipeline installation, whether for residential water line modifications or commercial HVAC systems. Proper execution directly determines system sealing and longevity. 🌈This guide, based on international pipeline engineering standards, introduces two mainstream connection methods: the welding method and the compression fitting method, to help you achieve reliable connections.
Method 1: Welding Method (Traditional Sweating Copper Pipe Elbow)
The welding method, known in the industry as sweating copper pipe elbow, is suitable for permanent connections requiring high strength.
Tools required: Propane torch (output temperature ≥400°C), emery cloth or wire brush, water-soluble flux, lead-free solder wire (meeting ASTM B32 standard).
Steps:
-
Cutting and deburring: Use a tube cutter to cut the copper pipe vertically, ensuring a square cut. Then remove internal burrs with a reamer.
-
Cleaning surfaces: Polish the outside of the pipe end and the inside of the elbow with emery cloth until a metallic sheen appears. Oxides or grease will prevent solder adhesion.
-
Applying flux: Apply a thin, even layer of flux to the polished areas. It prevents oxidation during heating and promotes capillary flow of the solder.
-
Assembling and heating: Insert the elbow onto the pipe end (leaving a 1-2 mm expansion gap). Heat the elbow base first with the torch, then move to the pipe end. When the flux bubbles (about 10-15 seconds), touch the solder wire to the joint – the solder will be drawn in automatically, forming a ring seal.
-
Cooling and cleaning: Allow natural cooling for at least 30 seconds to avoid cracking from rapid quenching. Finally, wipe off excess flux with a damp cloth.
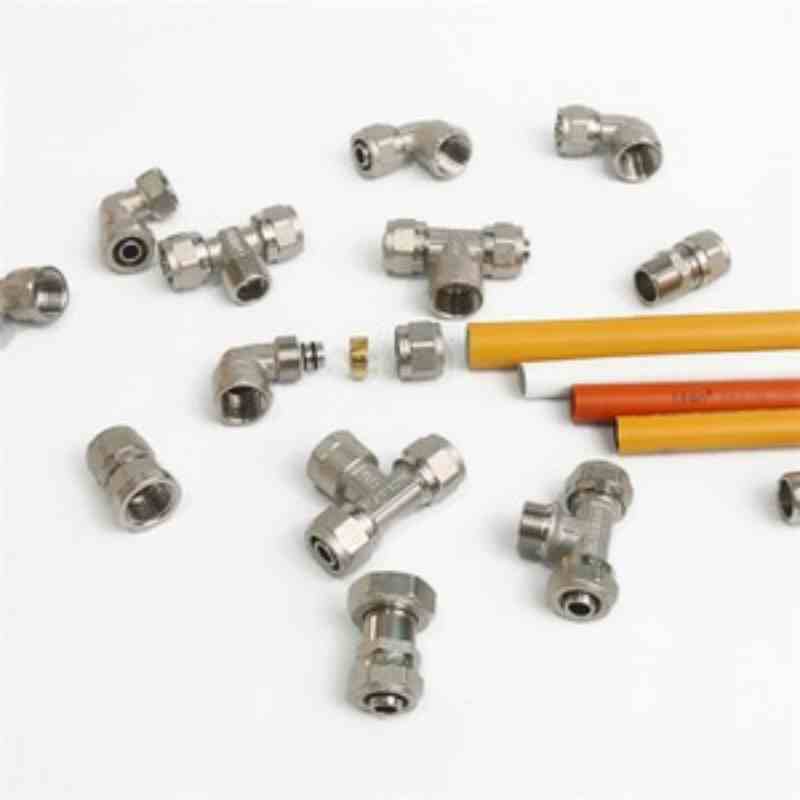
Method 2: Compression Fitting Method (Copper Pipe Elbow Compression Fitting)
For situations where open flames are prohibited or quick repairs are needed, the copper pipe elbow compression fitting is an option. The compression fitting consists of a brass body, a compression nut, and a ferrule (or compression ring), requiring no soldering.
Procedure:
-
Slide the nut and ferrule onto the pipe end in order, ensuring the pipe end is burr-free.
-
Insert the elbow and hand-tighten the nut until the ferrule bites into the pipe wall.
-
Tighten an additional 1–1.5 turns with a wrench (torque approx. 30–40 N·m). This method allows easy disassembly, but note the hardness of the copper pipe (annealed copper tubing is recommended).
Achieving a Leak-Free Copper Elbow Connection
Regardless of the technique, the ultimate goal is a leak-free copper elbow connection. According to the American Society of Plumbing Engineers (ASPE), 80% of leakage incidents result from improper surface preparation or uncontrolled heating time.
Key details:
-
When soldering, if heating lasts too long (over 30 seconds), the flux will char, preventing solder wetting.
-
With compression fittings, over‑tightening can cause the ferrule to gouge the copper pipe, leading to leaks.
It is recommended to perform a pressure test (1.5 times the working pressure, hold for 15 minutes) before use. 🌈AIFN fittings offers copper elbows that are ISO 9001 certified, with wall thickness tolerances meeting ASTM B88 standards, compatible with both techniques. Mastering these methods will enable you to complete piping projects efficiently.