How to Secure a 3-Way Pipe Elbow: 4 Reliable Methods (with Torque and Sealing Details)
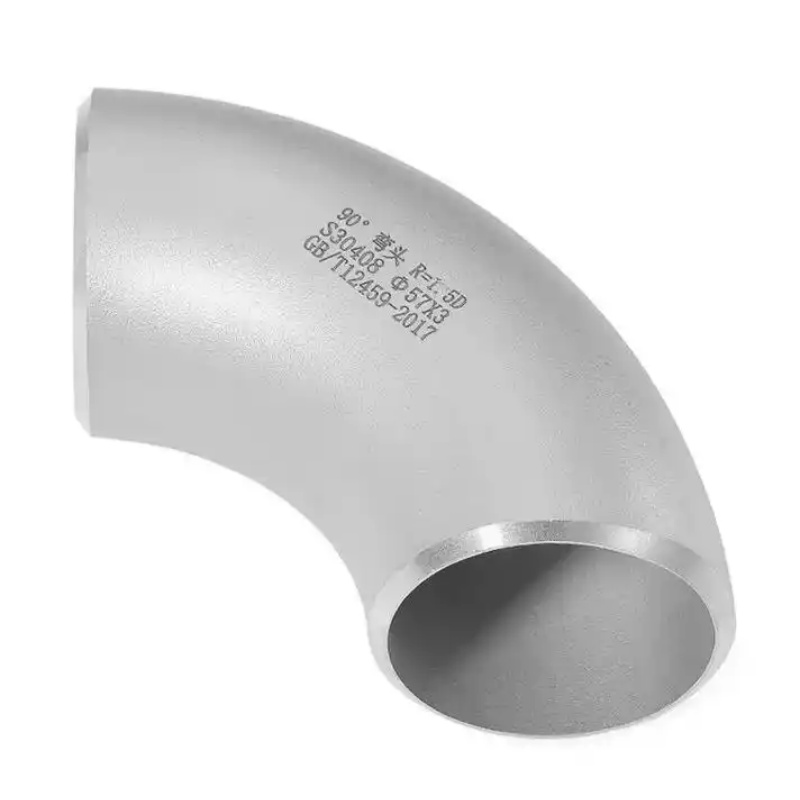
In industrial piping systems, 3-way pipe elbows are commonly used to merge or divert flow paths. Improper fixation can lead to leakage, pressure drop, or even system failure. This article focuses on the core methods for how to secure pipe elbow at fixed (i.e., reliably locking the elbow under fixed operating conditions).
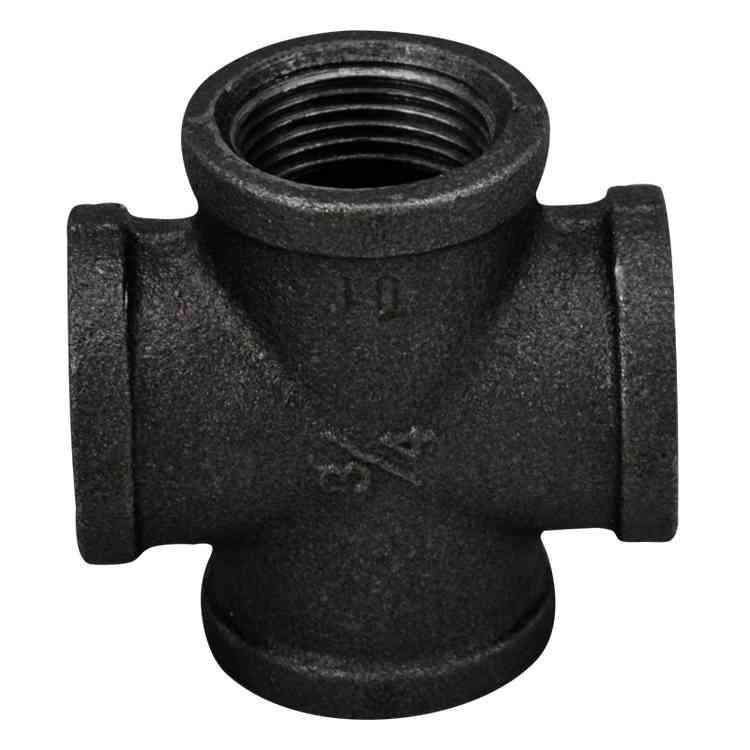
1. Threaded Connection: Precise Torque Control and Sealant
✔️For threaded 3-way elbows, first clean internal and external threads and check for burrs. When using PTFE tape on threads, wrap 3–5 turns (approx. 0.1 mm thickness) in the thread direction, ensuring the tape does not enter the pipe bore. If using a liquid thread sealant (e.g., Loctite 567), apply it to the middle section of the threads, covering about 70% of the engagement area.
✔️Key parameters: The proper torque for pipe elbow depends on material and size. For example, for a 1/2-inch NPT carbon steel elbow, recommended torque is 27–34 N·m; for 1 inch, it is 47–54 N·m. Too little torque leads to loosening, while too much may deform or crack the threads. After tightening, use an angle gauge to verify that the rotation angle is within 15°–30°, ensuring three-way elbow alignment with the design axis (deviation ≤0.5°).
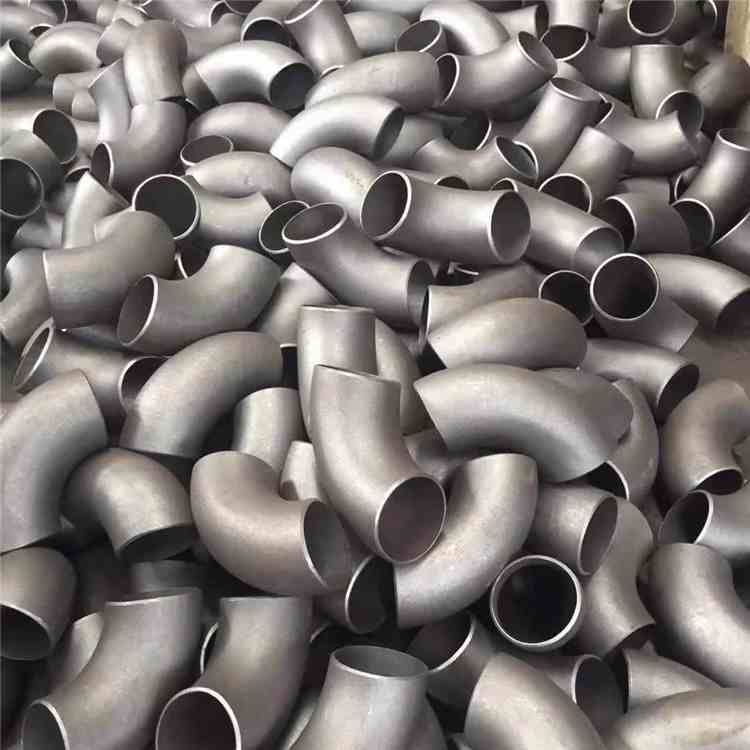
2. Welded Connection: Groove Preparation and Preheating Control
✔️For butt-weld 3-way elbows, prepare a V-groove (angle 60°±5°, land 1–2 mm). Preheat to 150–200°C (for carbon steel) before welding, and keep interpass temperature below 230°C. 🌈 Use GTAW for the root pass plus SMAW for filling, with each weld layer thickness ≤3 mm. Perform post-weld heat treatment (hydrogen relief, holding at 620°C for 1 hour) within 24 hours after welding to significantly reduce the risk of delayed cracking.
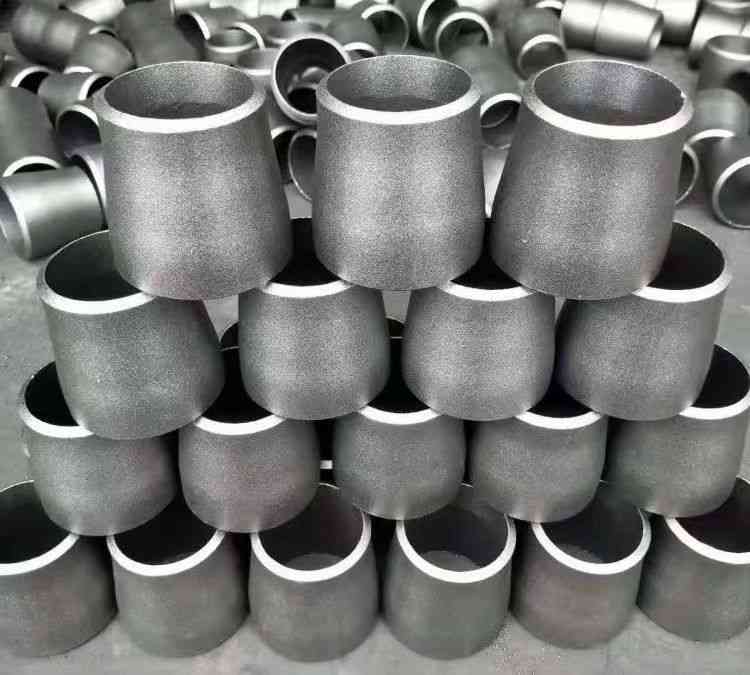
3. Press Connection: Tool and Pressure Verification
✔️For thin-wall stainless steel pipes, use a dedicated hydraulic press tool. Ensure the elbow is inserted to the marking line (typically 25–30 mm) and apply pressing pressure of 32–40 MPa.🌈 After pressing, use a go/no‑go gauge to check internal diameter deformation (reduction ≤0.2 mm). Hydrostatic test: hold at 1.5 times the working pressure for 15 minutes; no pressure drop indicates acceptance.
4. Flanged Connection: Gasket and Bolt Sequence
✔️If the 3-way elbow comes with integral flanges, use a graphite composite gasket (thickness 3 mm). Tighten bolts in a diagonal sequence in three steps: first 30% of target torque, second 70%, third 100%. For example, for eight M16 bolts with target torque of 120 N·m, after final tightening check that flange gap variation is uniform (difference ≤0.1 mm).
♂️Experience Tips
-
Before threaded connection, always verify sealant compatibility with the medium (e.g., oil‑based sealants are prohibited in oxygen systems).
-
Calibrate torque wrenches monthly, with an allowable error of ±3%.
-
If three-way elbow alignment deviation exceeds 1°, additional bending stress will occur, reducing fatigue life by approximately 40%.
📝By following these detailed controls, you can securely fix the 3-way elbow (truly achieving the engineering goal of how to secure pipe elbow at fixed) and meet the service requirements of API 570 or ASME B31.3.
📌For special service conditions (high pressure, corrosive media), consult AIFN engineers for a customized solution.